Fleeting Requests and the Spell Casting Crusaders
Documentation


This post is a technical, design and art documentation for the first chapter of Fleeting Requests and the Spell Casting Crusaders. I worked on this game myself using Unity. In this post, I will document how I developed aspects of the game.
Movement
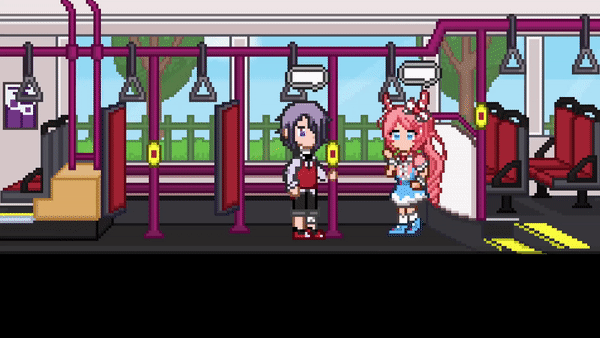
The first aspect I started working on was how to get the player to move.
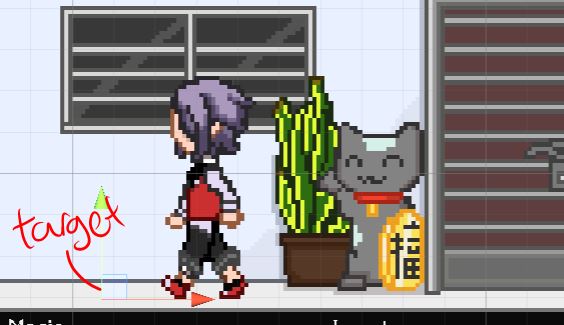
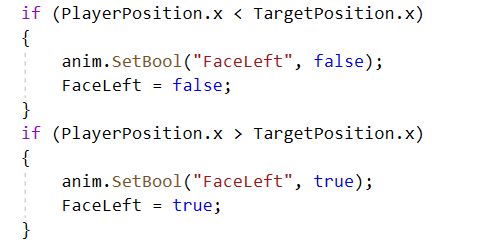
This was done by having a target that the player would move towards. The target is a GameObject with a transform.
Whenever the position of the x vector of the target is lower than the x vector of the player's transform, it means that the player would be facing the left so the "FaceLeft" boolean variable in the player's animator is set to true. When the opposite is true, the reverse is done.


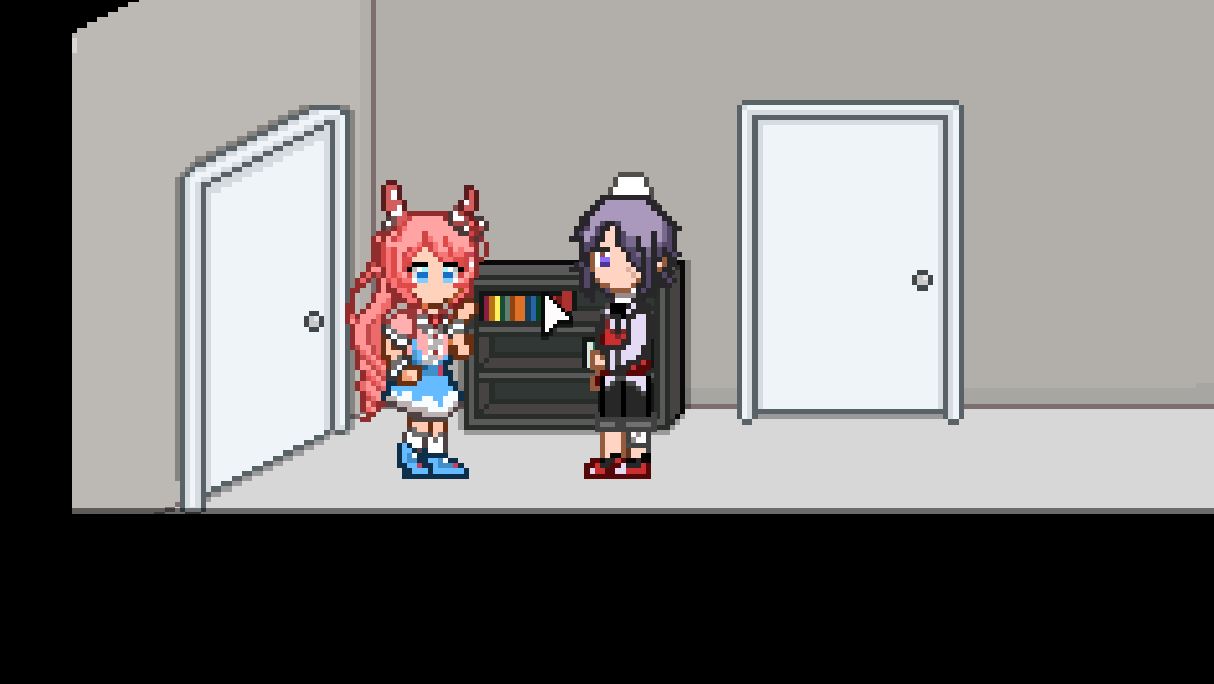
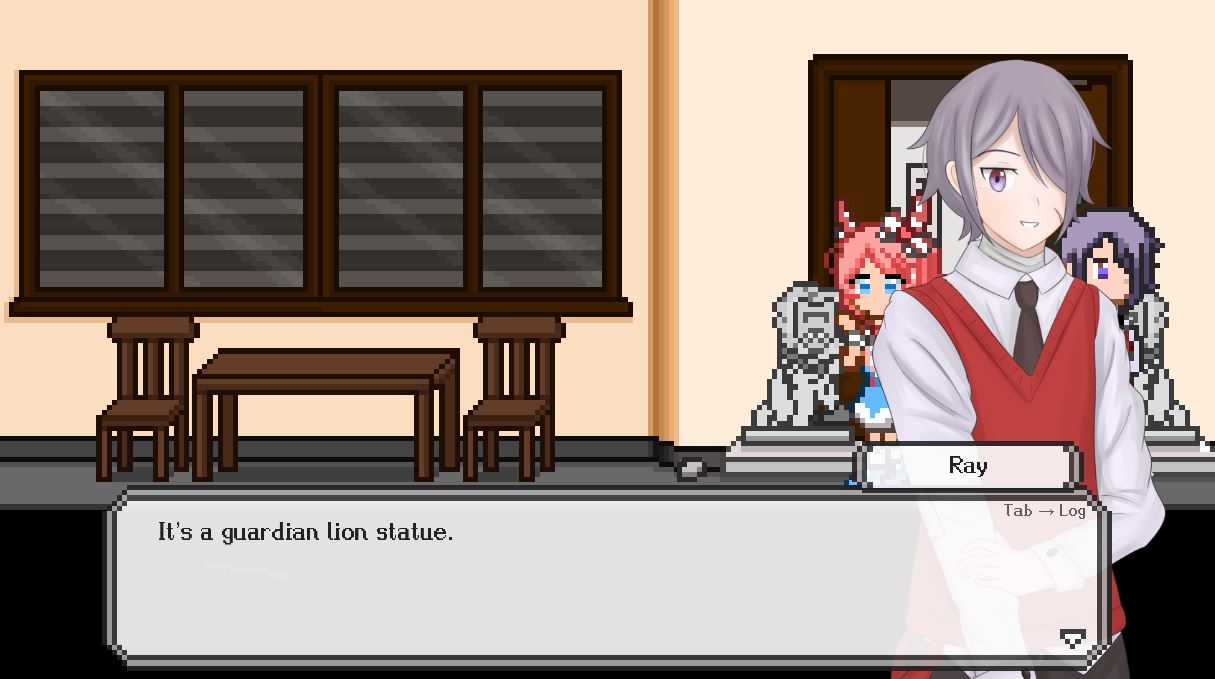
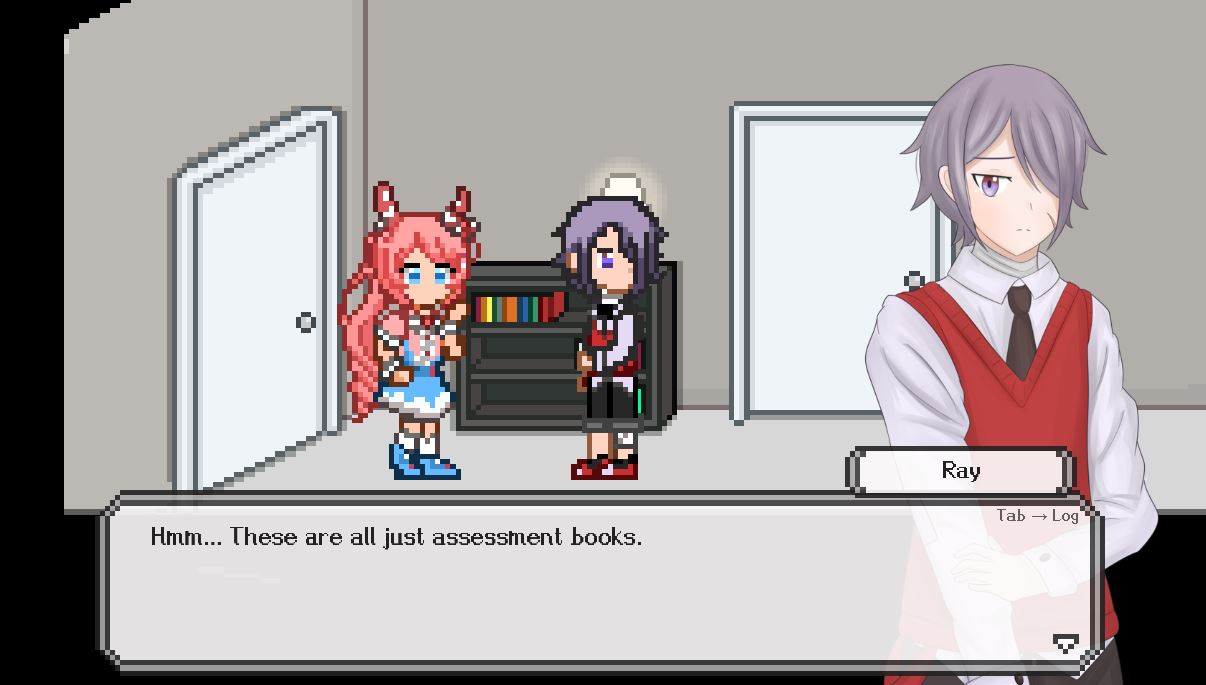
Point and Clicking
What’s a point and click game if you can’t, well, point and click? That is the second aspect of the game I worked on.
Each clickable item has a BoxCollider2D attached, along with an ItemClickable script. Here are the variables in the ItemClickable script.
Cursor type refers to which Texture2D the cursor will turn into upon hovering over the item. There are seven types of cursors.


The default is the standard arrow, the pointed finger is for any item or person, the four straight arrows for items which change the player’s location and the rounded arrow for items where the player could place something down.
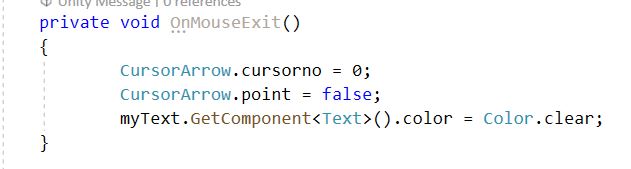
Another thing that happens when the cursor hovers over an item, is that the item’s name appears in a text box. In each scene, there is a text component which follows the cursor’s location. By default, this text’s color is set to clear and cannot be seen. When the cursor hovers over a clickable item, the item script will set the Text’s text to the ItemName.
Once the cursor has exited the BoxCollider2D, the cursor will return to its default arrow cursor Texture2D and the Text component’s color will be set to clear.
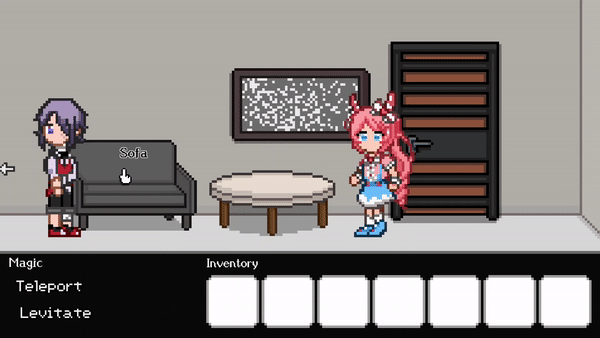
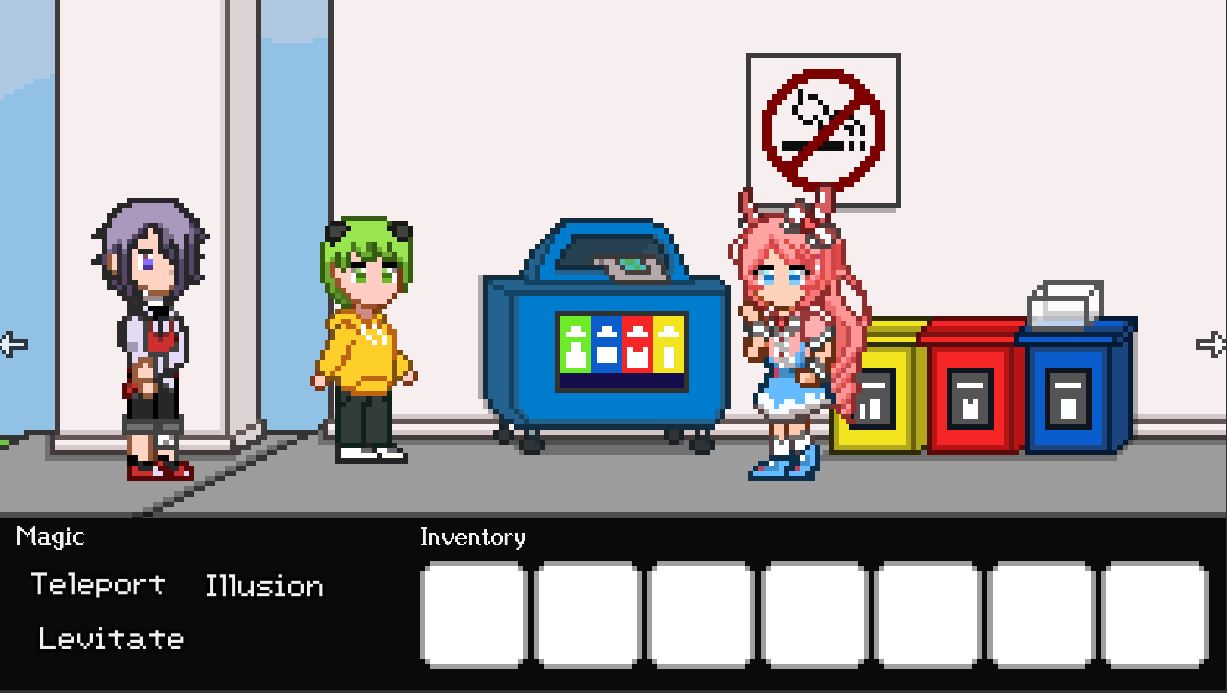
Inventory
Inventory for this game is managed by the InventoryManager class. When an item is added into the inventory, that GameObject is set as a child of a slot.


An item is always added to the first empty slot for the left.
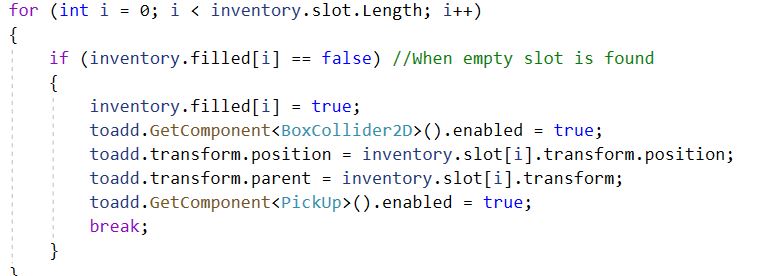
In order for the inventory to not have any blank spaces, when an item is removed, this function is called.
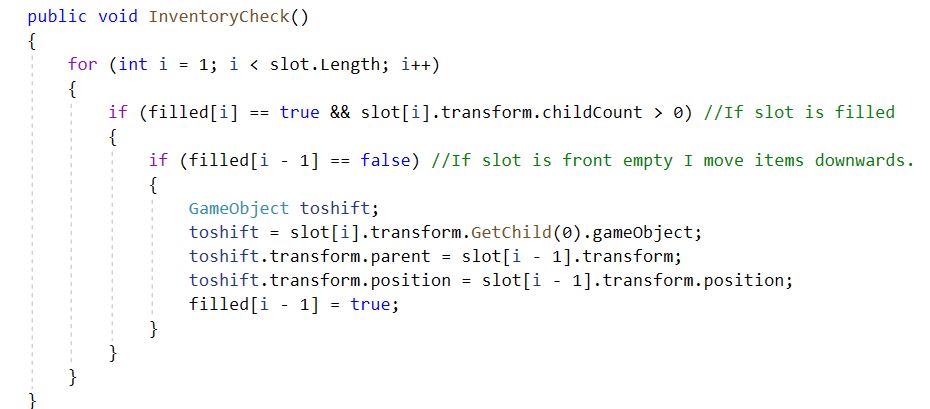
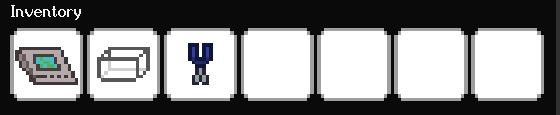
This code checks for if there is an empty slot in front of any filled slots and moves an item to the slot in front of it if there is. In the example below, the seeds are removed from the inventory and all the items behind are moved down one space.

Similar to hovering over items on the map, hovering over items in the inventory will change the cursor’s Texture2D as well as display the item’s name on text in the inventory.

Picking Up and Putting Away
In each scene, there is a GameObject with a SpriteRender component that follows the cursor named the “Inventory icon”. When an item is clicked on, the sprite of the Inventory Icon is set to the item that was clicked on while its own sprite is set to a darker colour.
Putting away an item reverses this process.
Event Calling
An event is when… something happens! There are four ways events can be triggered during gameplay, most of the events are conversations called through JSON files using the Commands class. In this section I will explain each.
Clicking on an item on the map
This event is called when the player has clicked on an item and walked to the clicked location. Whenever an item on the map is clicked on, they are set as the clickedItem GameObject from the Movement class. So if the player has reached the target and the clickedItem field is not null, this event is triggered.
Clicking on an item makes use of the item's name.

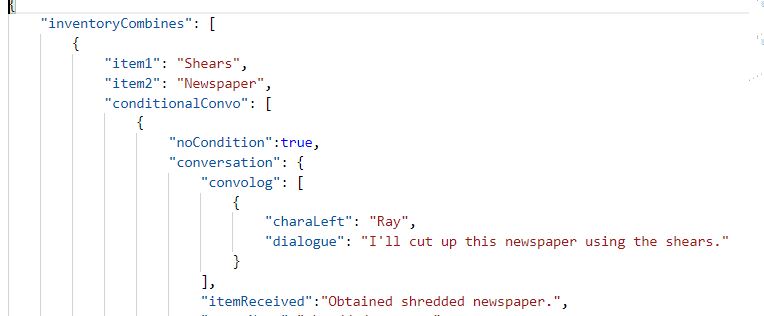
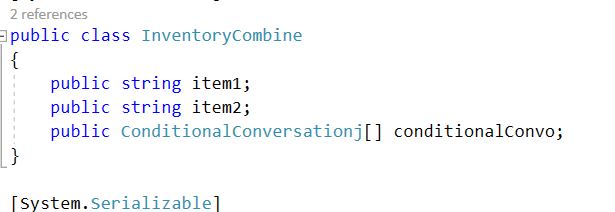
Combining an item in inventory with an item on the map
When an item in the inventory is clicked on, that item is set as the InventoryManager’s clickedItem GameObject. The event of combining an item from the inventory with an item on the map is triggered is similar to how the clicking on an item works,the difference is that the InventoryManager’s clickedItem field is not null.
Each item in the inventory has its own data in a JSON file.
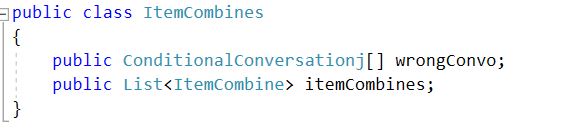

When an inventory item is combined with something on the map, the function in the Commands will find the inventory data and check if the map item's name is listed in combines[].
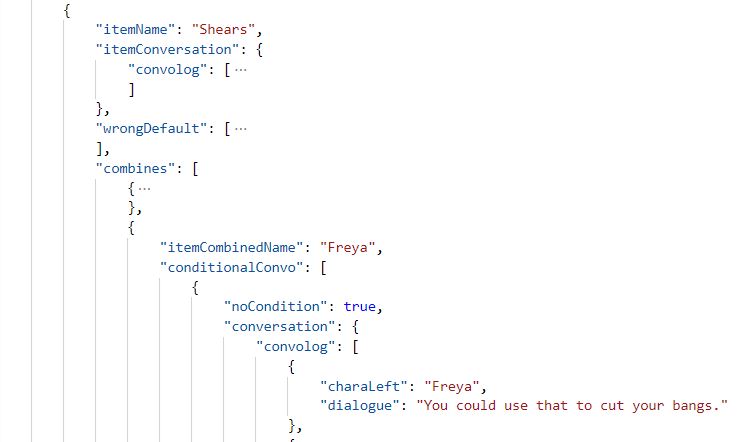
If it exists, the conversation or event can play.

Not everything on the map can be combined with an inventory item, if the combine doesn't exist, then the conversation from the wrongDefault would play.
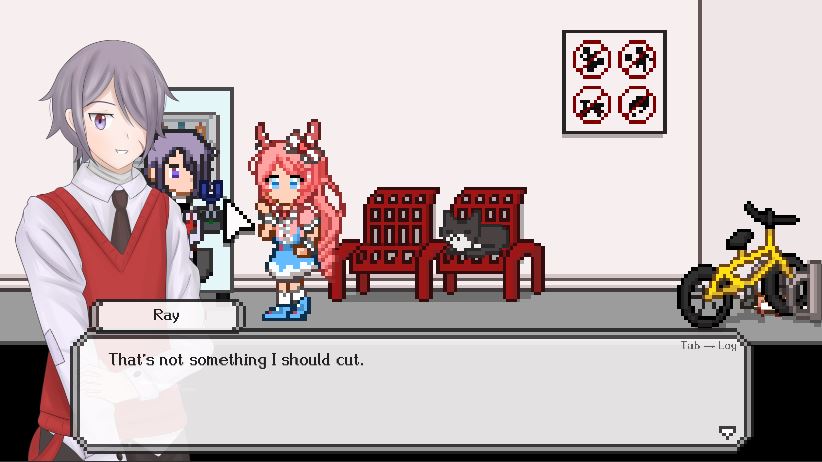
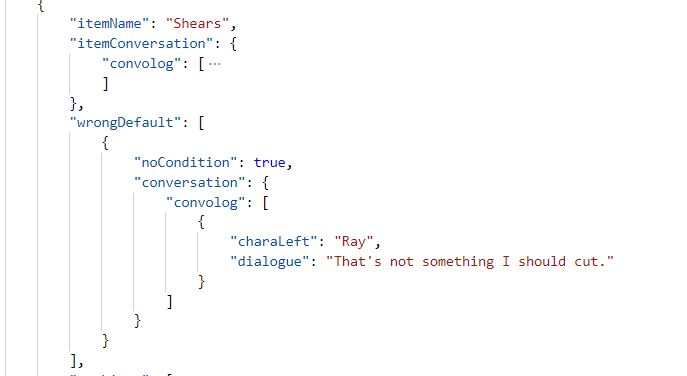
If this field is empty, then the wrong default would play.


Basically the priority goes like this:
- Item combine
- Inventory Item's default wrong
- General Wrong default
Playing an item's description
In each item's data in the JSON file, there is a section for item description.

It's a conversation that can be triggered when you pick up an item and then click back on its slot in the inventory.

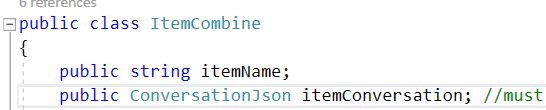
Combining two items in inventory
This structure has two strings, each for an item in the inventory.
Whenever an item in the inventory is picked up and another item is clicked, this event is triggered.

Like with combining items in inventory with items on the map, there isn’t a conversation for every single inventory combination. So the priority for combining inventory items goes like this:
- Combine
- First item's wrong default
- General Wrong default
Conditions
Sometimes, certain events will only happen after something is completed.
For example, the game can only be placed back on the shelf after Ray has agreed to return the game.

Before that, he wanted to keep it.

In each different scene there are switches. These switches are in an array of booleans.

In this example, switch for when after Ray meets Freya and Ray is 2 in the array.
As I only want this conversation to play after Ray has agreed to return the game, the condition for this conversation is set to 2.

With an array of conditional conversation, the function below will start checking a condition from the last conditional conversation in the array, and check if that switch is set to true, if false it will check the previous conditional conversation in the array. This means that the last conversation in the array has the highest priority.
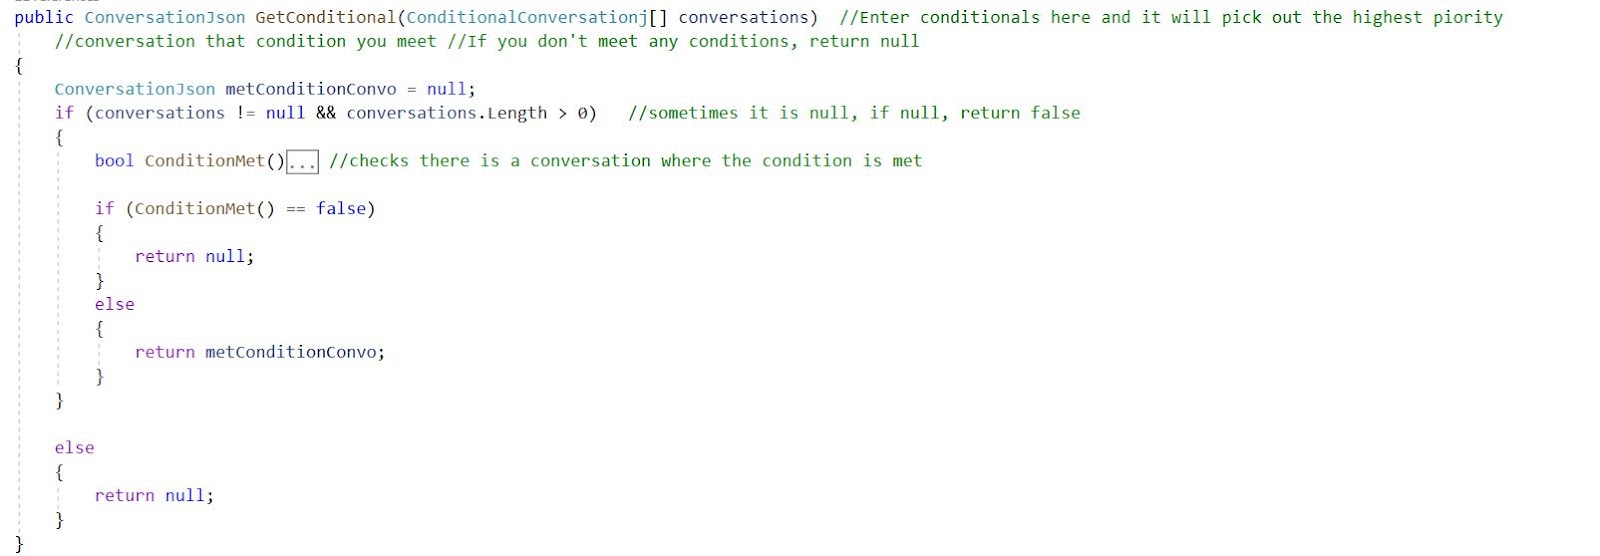
For anywhere there is an array of conditional conversations, there will be a conversation to fallback on if this function returns null.
Commands
As each scene has specific events happening, I create a new C# script for each scene. In order to be able to call back methods as much as possible, these scene scripts derive from my base class, Commands. This class is also responsible for calling the events mentioned in the previous section. In this section I will elaborate on some other functions in the Commands class.
Deactivate and Reactivate
When an event happens or a conversation is playing, we don’t want the player to be moving freely on the map or trigger a different event. That’s where the Deactivate function comes in, not only does this function stop the player from moving, it will also hide the inventory and any other aspects of the UI that implies any ability to click.

If a button can’t be clicked, it shouldn’t show on screen!
Like the name implies, the Reactive function does the opposite of the Deactivate function and will unhide the Ui as well as allow the player to move again. You look at these two functions as part of a state machine where the game has an activated and deactivated state.
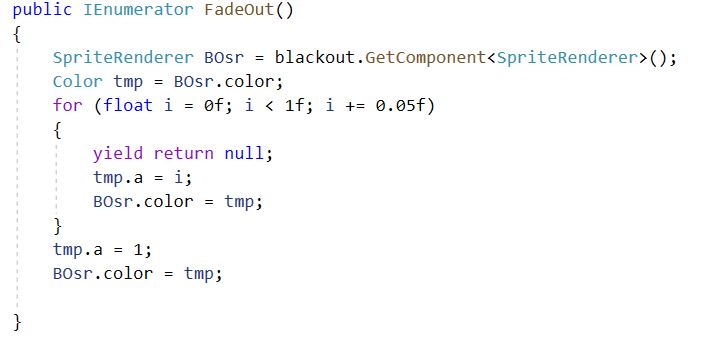
Fade In and Fade Out
A simple fade in and fade out function to play. Used during change of scene or to show a passage of time.
Change Room

Change room is for moving the player from one room to another. Each room’s transform.position are actually on the same vector, moving from one room to another is done by setting the room the player currently is in as active while all the others are inactive.

Having this function means I don't have to keep writing code for setting rooms active and inactive, I just need to pass the room number into this function.
Wait to reach Target
This function is a Coroutine, there are different variations of this Coroutine in my commands class that take in different parameters, the main idea is that this Coroutine returns null until a transform reaches a position.
This is an important Coroutine call during animations as I would want a character to walk over to a certain position and then enter a state.
This Coroutine is especially important if I want to play animations involving two sprites.

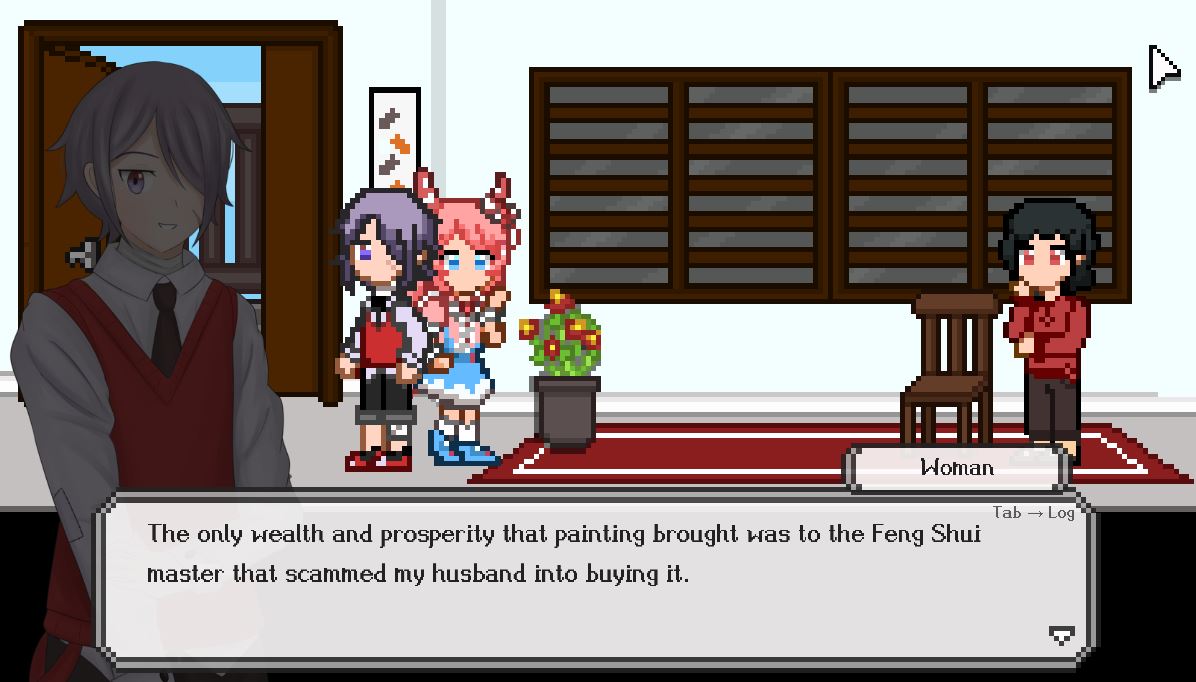
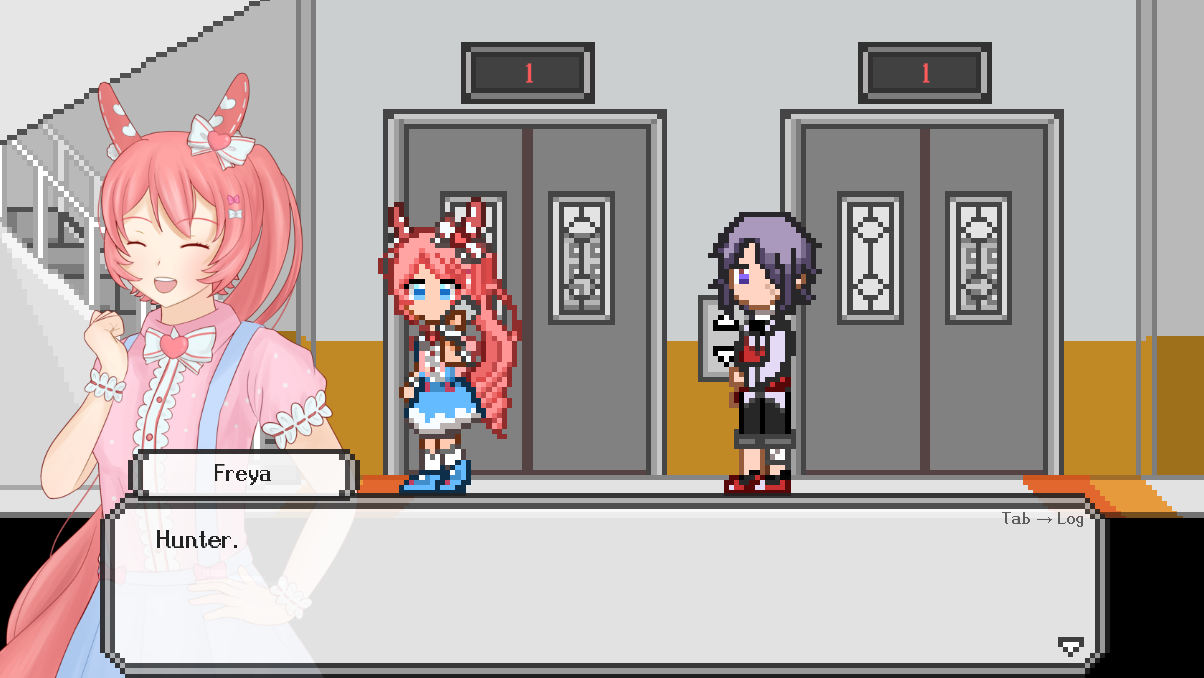
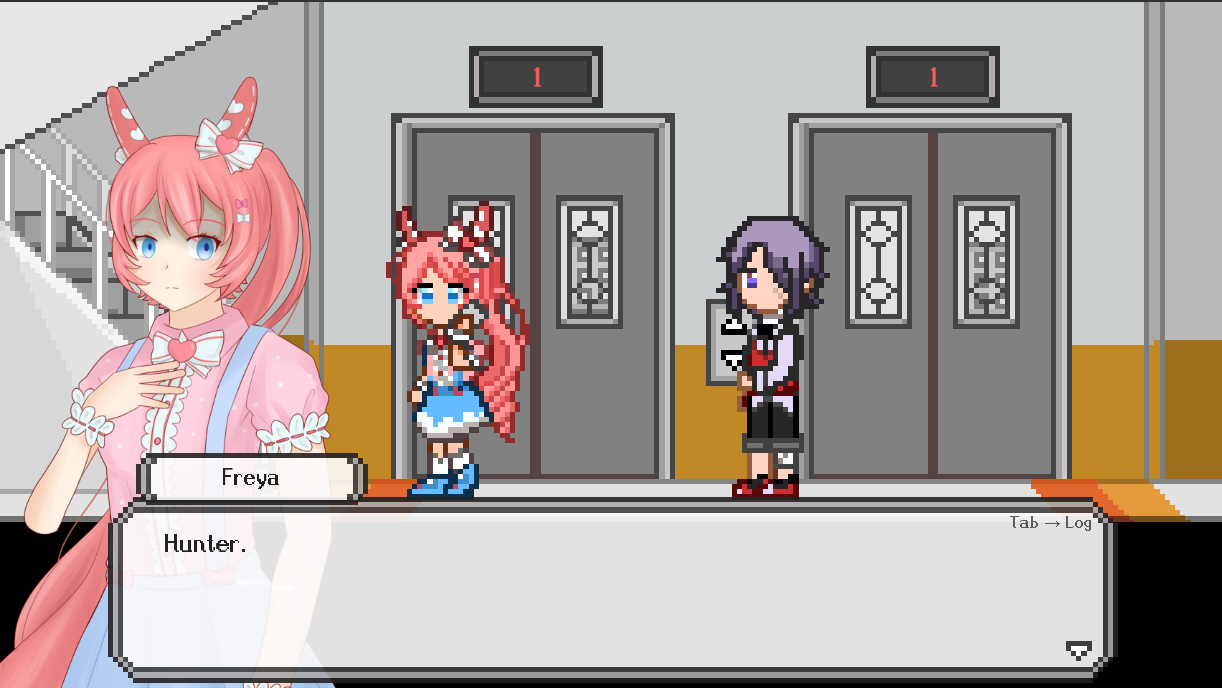
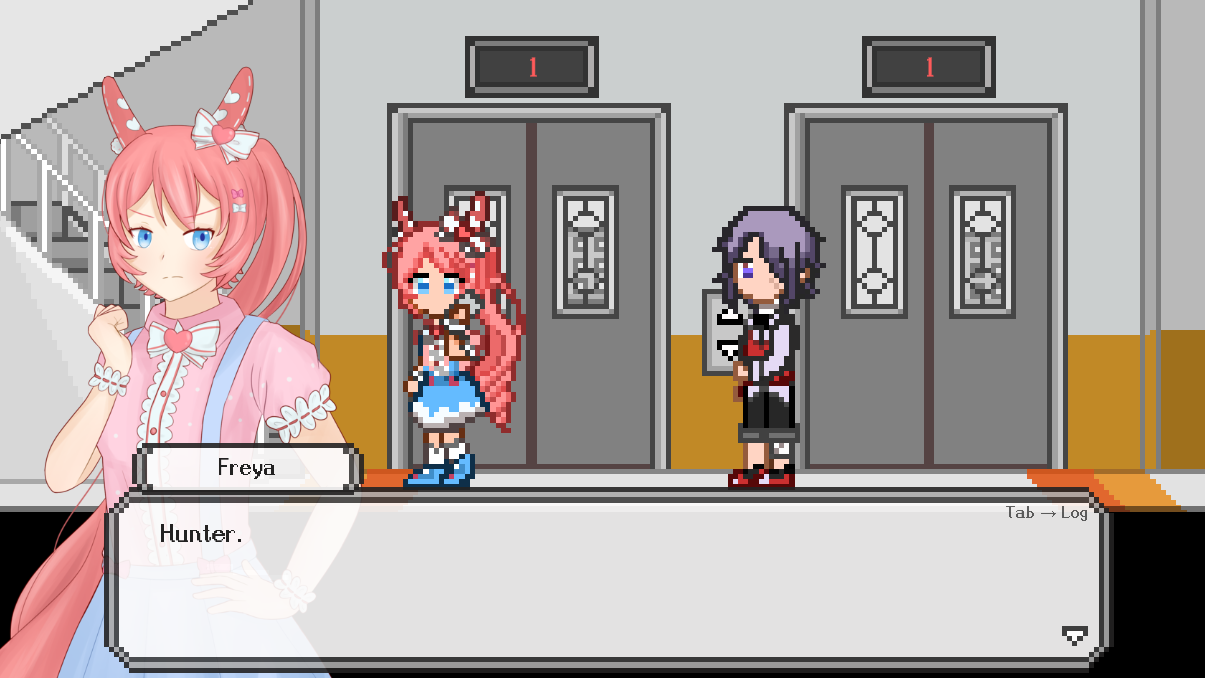
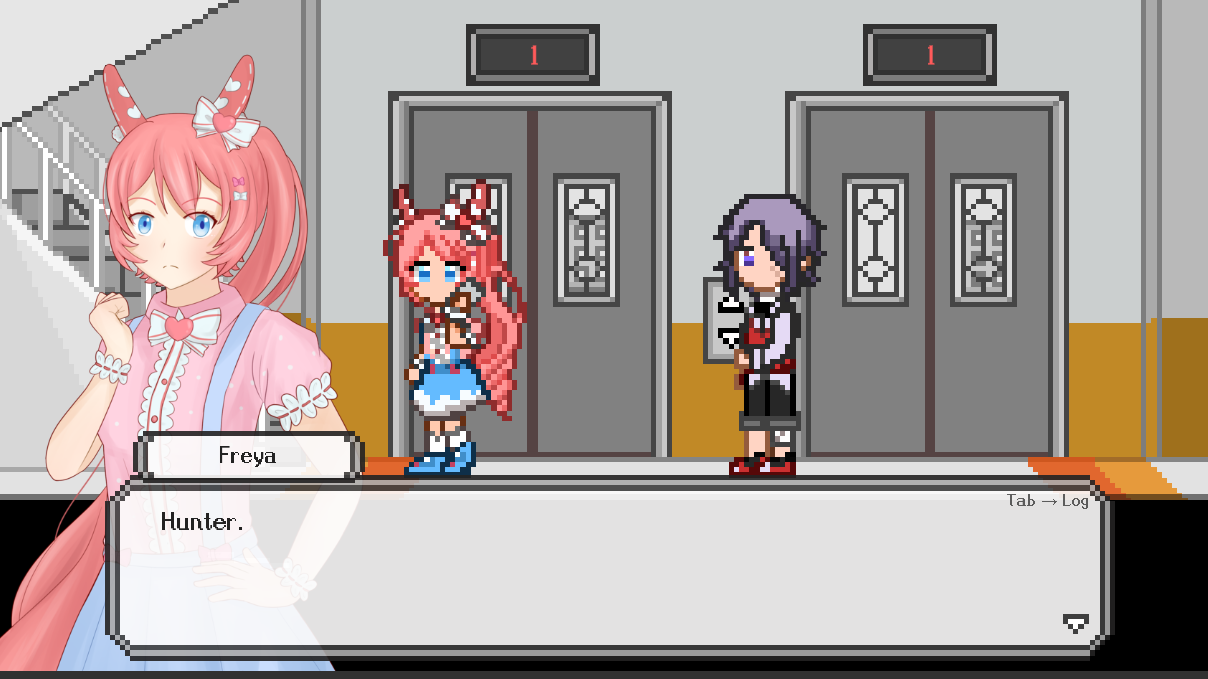
Conversations
Besides a point and click, this game also has its own visual novel aspects. So of course, there is a conversation system.
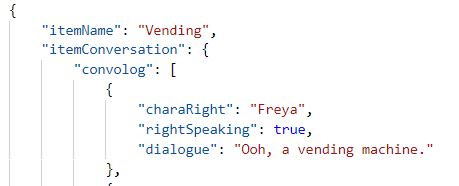
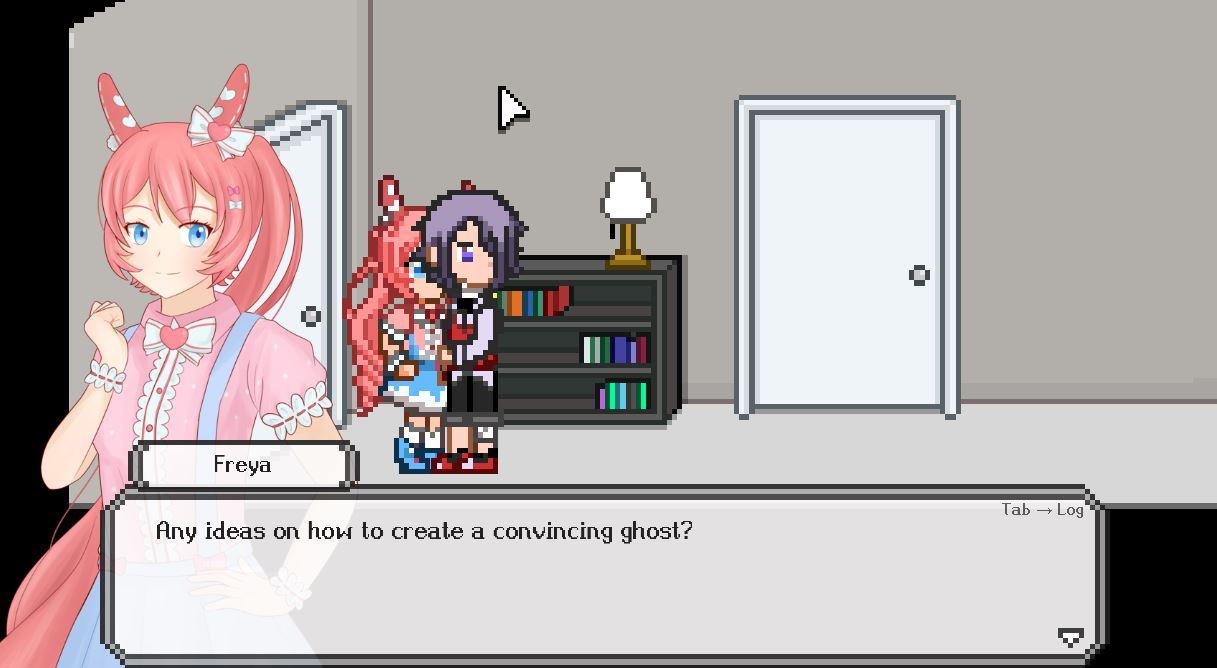
For this, I used JSON files. A log in a conversation consists of the following: a character on the left, character on the right, expression for each and a few other effects.

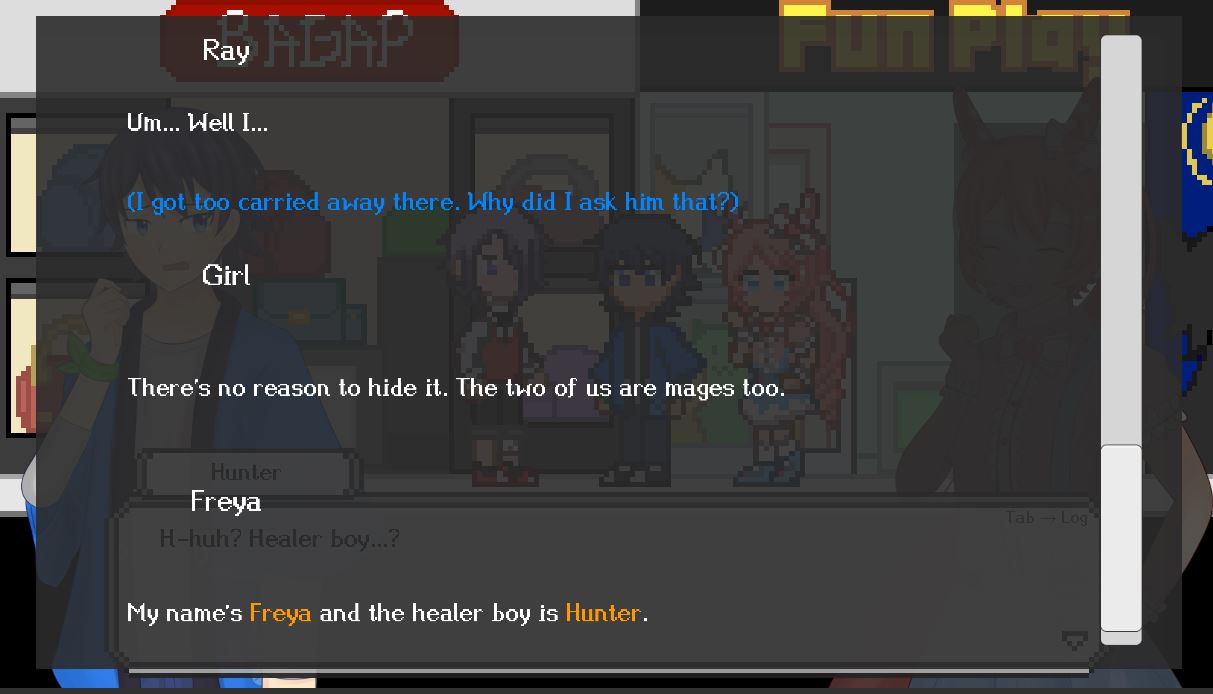
The speaker character is highlighted and their name will appear. Fields can be left empty if there are no changes from the previous log. For example the JSON file in screenshot below,
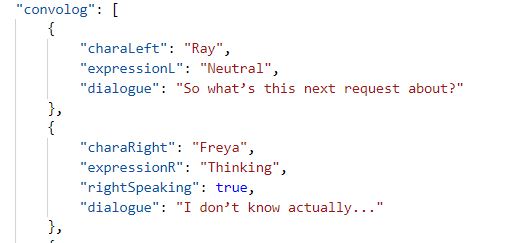
Results in in game like this:

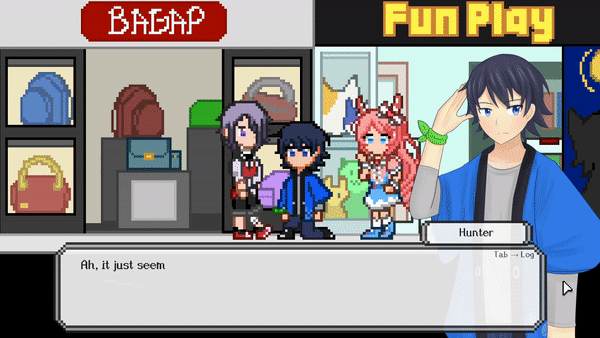
As you can see, Ray will remain on screen even if he's not specified to appear.
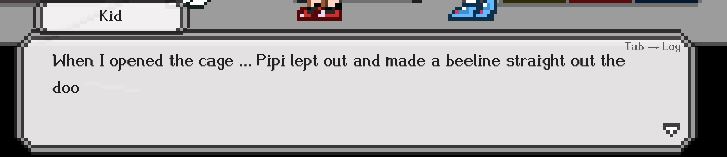
Dialogue which appears in game has a typing effect. This is done by using a coroutine in Unity. An issue that appears when typing out text during the game’s runtime is that alignment of the text will change, causing the words to move down a line.

In order to prevent this, the full line of dialogue is actually in the text box at all times. Letters that haven’t appeared yet are in a clear colour. This allows the alignment of the letters to be fixed.

While a sentence is being typed out, if the player clicks, the typing effect is skipped over and the entire text will show up. It’s only after the full text is shown that the dialogue will move to the next log.
This allows for players to skip past the text without accidentally missing out anything.
Dialogue in game can appear in four different colours. Each colour has a different meaning.
- Black - Regular dialogue said by a character.
- Green - For sound effects that are not said by a character.
- Blue - For a character's thoughts.
- Orange - To place emphasis on certain words.
An entire line of dialogue can be set into one colour by setting the log’s text colour:

This is quite simple to do by just changing the Color component of the dialogue in Unity.
It gets a bit more complicated however, if only a certain portion of the text is a colour. Take this line for example:
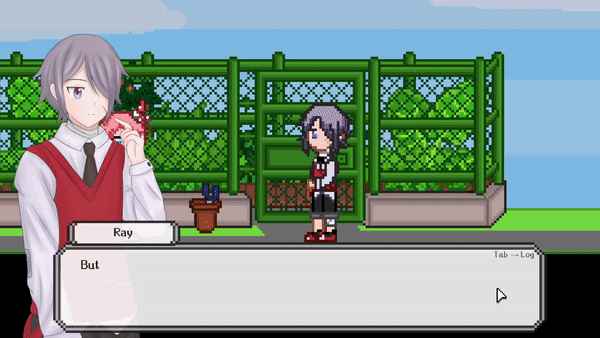
Due to the typing effect for the dialogue, if I simply used rich text for this, the orange text would appear in game like this:

An undesirable result!
In order to resolve this issue, I used my own custom tags in my dialogue. The colour tag for orange is “<co>” and closes with “</co>”.

When running this dialogue through the ConvoManager, it will find where these custom tags are located in the dialogue string.
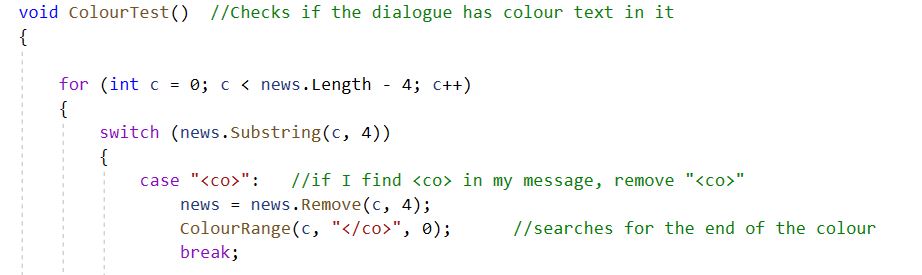
These positions are stored in an int[3] along with the colour number.
With the start and end of a colour tag, the ConvoManager is able to open a colour tag when the typing effect has reached a character within the colour tag. While a character with colour is being typed out, the last letter will close with the “</color>” tag. 

Once the typing effect has reached the last character in the colour tag, the “</color>” tag will remain at the position behind the last coloured character.


Being able to have only certain parts of the dialogue is especially helpful for emphasis. This effect can also work for multiple parts in a string of dialogue.

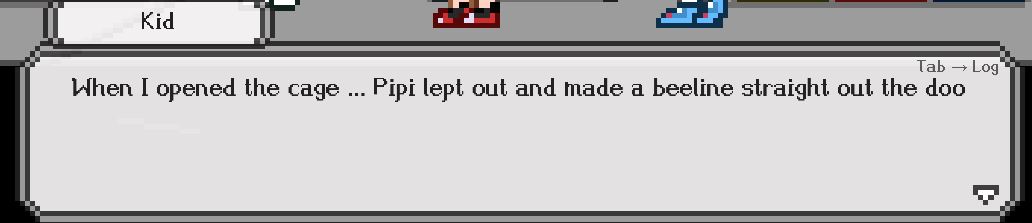
After clicking past a string of dialogue, each line is passed into the log. If you forgot or missed what was said previously, this game has a log that can be open with the TAB key.
The log is able to reflect who said what and dialogue is coloured as they appeared in the text box. Each time a string of dialogue is passed, previous strings of dialogue will be moved upwards and the last string of dialogue is put at the bottom most slot.
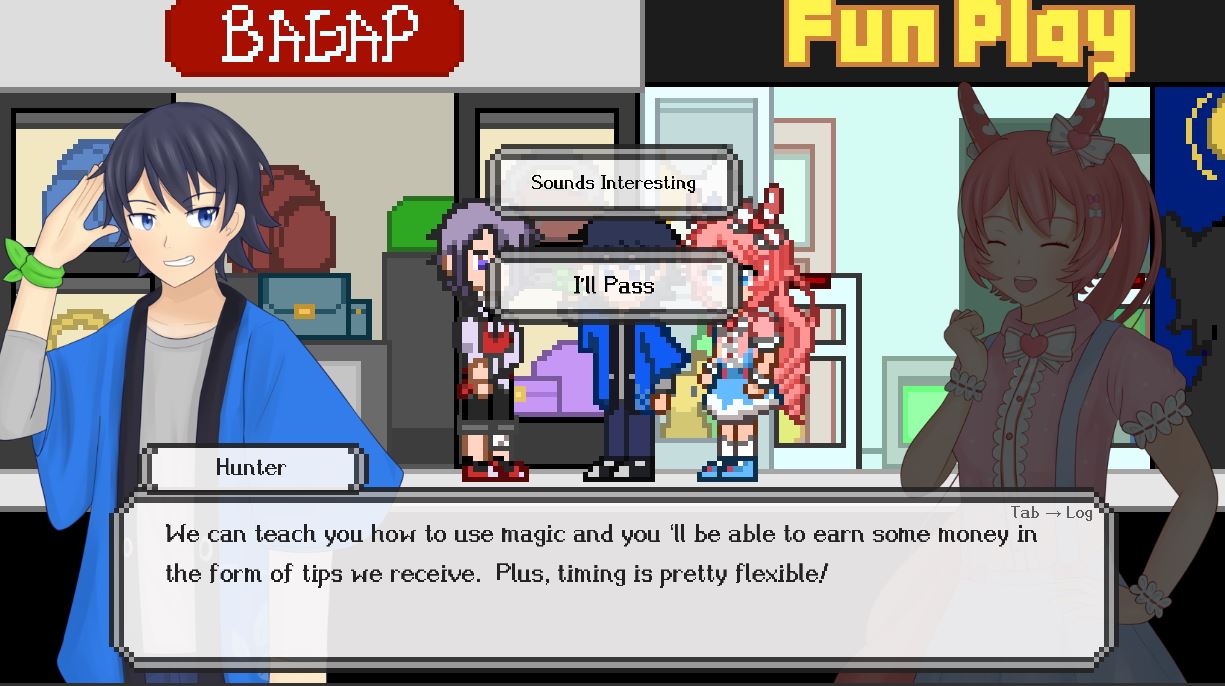
Occasionally, events will play out in between dialogue. In order to do that, the field “midConvo” is used.

Whenever the ConvoManager reaches a log with a midConvo filled, it will call code from the scene’s C# script for example the event here “Hunter casts magic” refers to this portion of code.
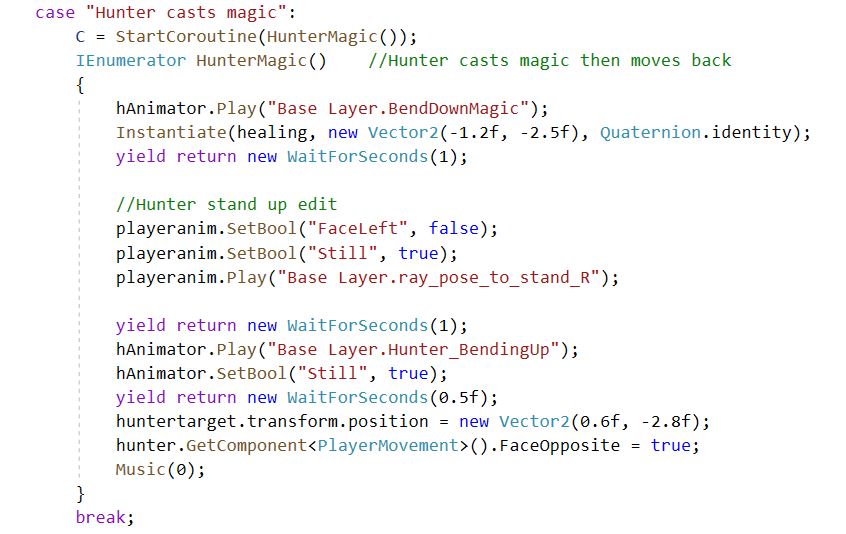
Once this code is executed, the ConvoManger will continue from where it left off. Having things happen in between a conversation allows for more interesting scenes.
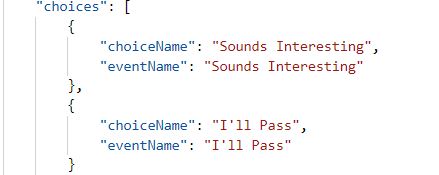
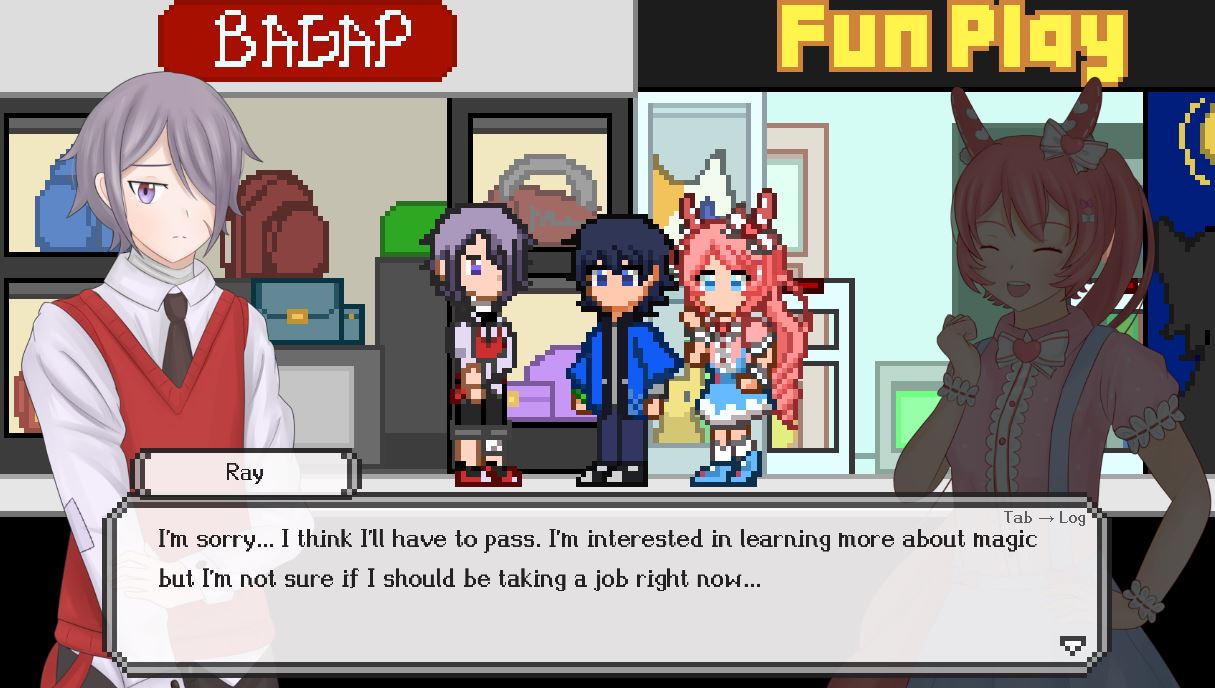
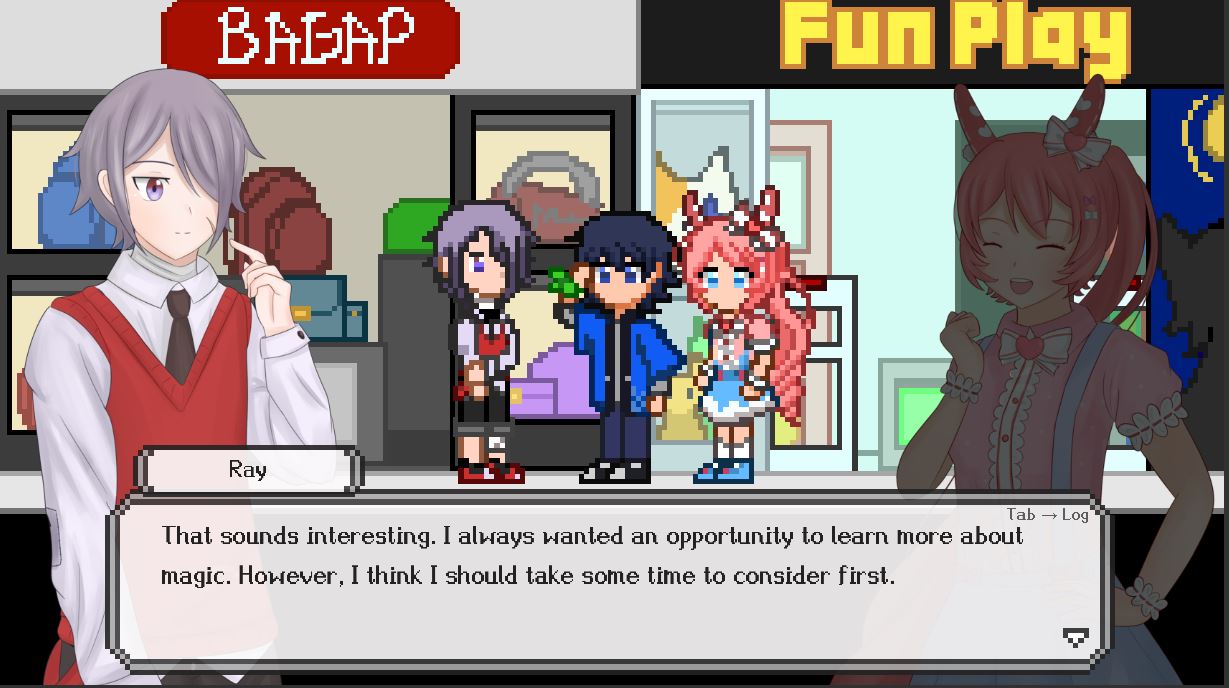
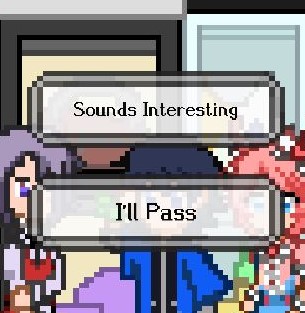
Conversations have a field for choices which will result in different things happening based on which option the player chooses. As choices will link back to playing an event from the C# script, any line of code can be allocated here - meaning anything could happen!
Saving and loading
The Save Container class is used in each scene. It contains serializable fields for different variables. If an item moves to different places during gameplay, I could drag and drop this GameObject into the Save Container and the item's positive will be recorded when the game saves.
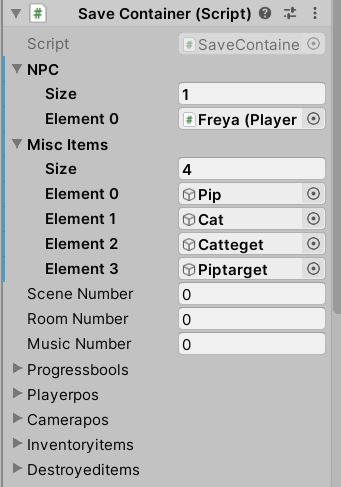
When destroying any GameObject in a scene, the name of the GameObject is added to a list of string in the SaveContainer class. When save data is loaded, GameObjects which have their name in the SaveContainer will be destroyed.

Inventory items work similar to destroying and any item in the inventory's name will be added to a list of string in the MemoryList when the game is saved. When save data is loaded, these items will be added to the inventory.

Switches are also recorded to the MemoryList class and when loading, switches will be set to their value they were at when saved.
There are sometimes specific events that happen in the game which cause several changes in the scene that don't have specific fields for in the MemoryList. Whenever these events happen, a switch is set to true.
When a game is loaded and a switch is true, some code can be written in the below function so that the changes that happened could be done again when the game is loaded. In the example below, the switch[0] being true means the television has been switched off so the code in this section switches of the television.

Design
Font
The main pixel font used in the game was created by me using BitFontMaker2.Words are somewhat bolded with a slight cursive to it. This font is simple, easy to read yet with a handwriting feel to it.

User Interface
As with the font, the user interface keeps with the theme of being simple and easy to read.
The dialogue box is quite simple but with a grey border. This border is kept consistent with the name boxes, the choices as well as the notification box.

The slight transparency of this UI allows players to see parts of the portraits and map covered by the UI.
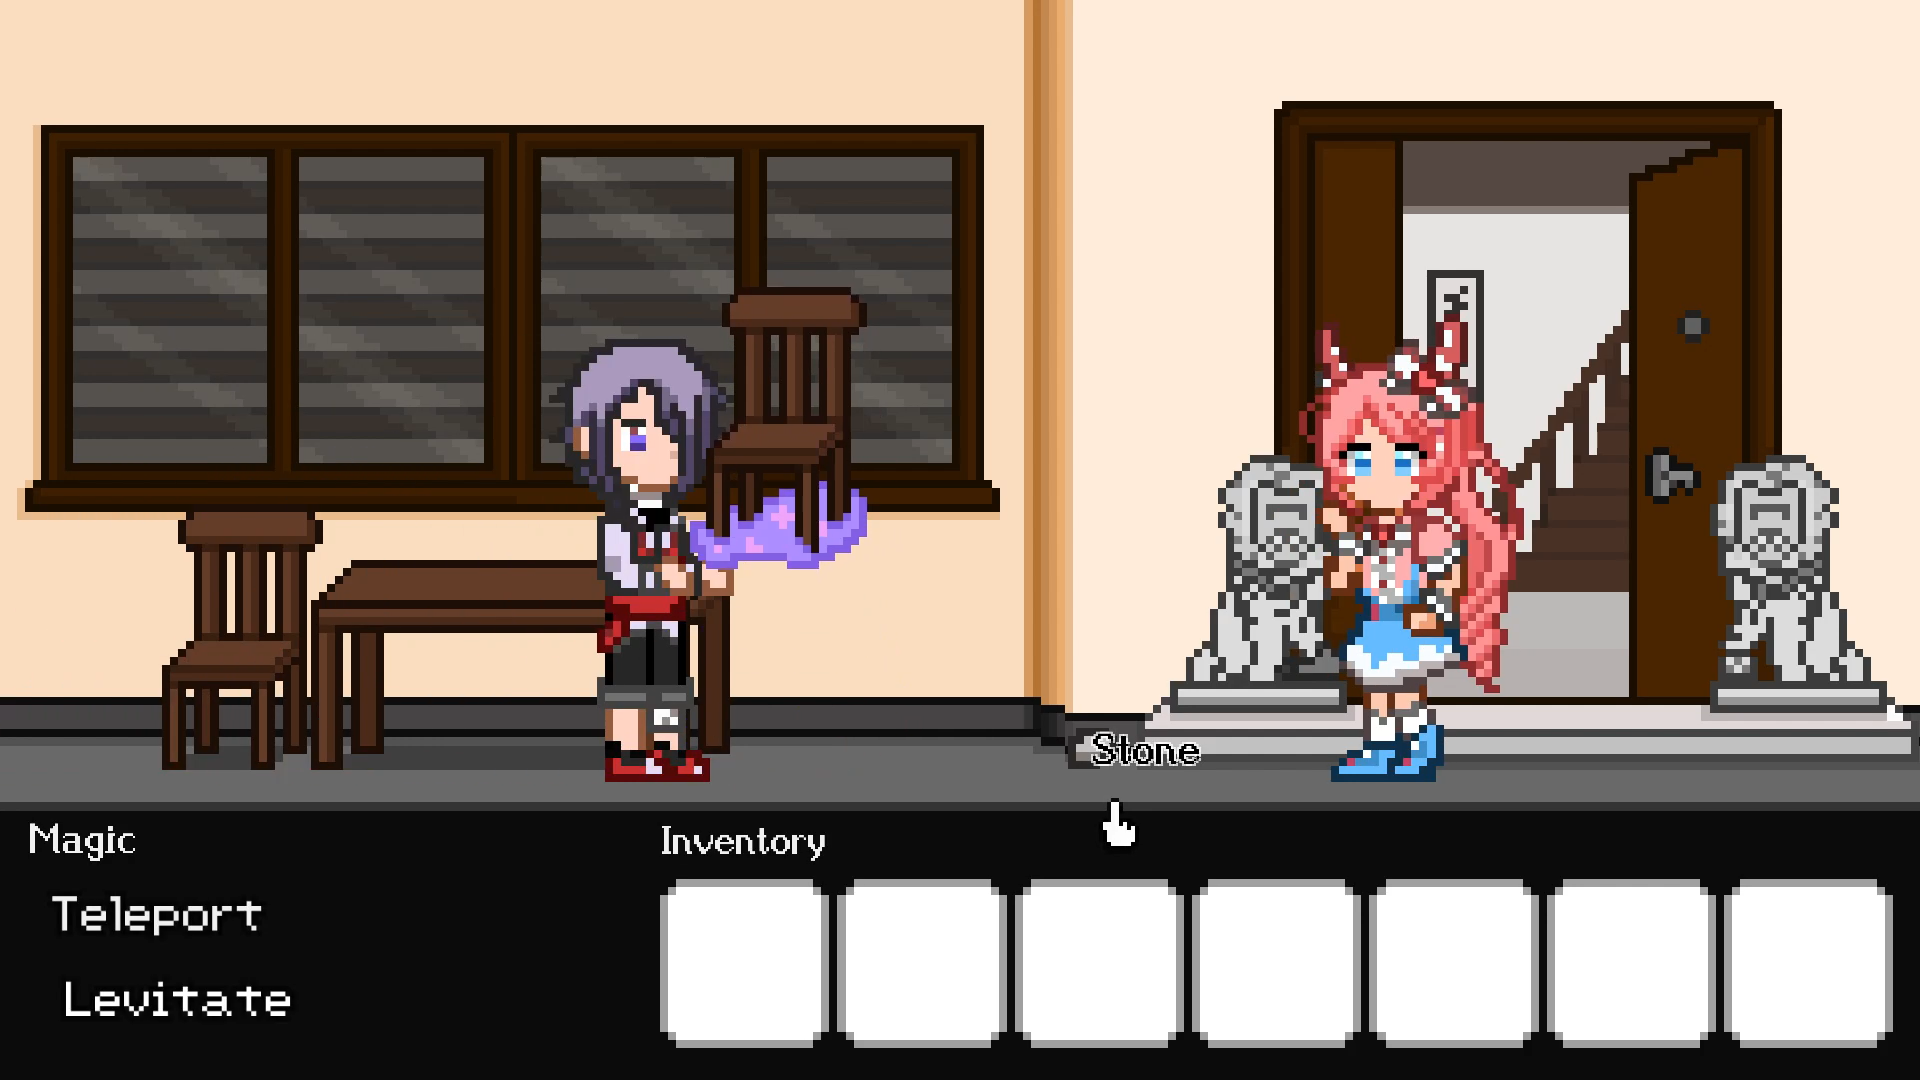
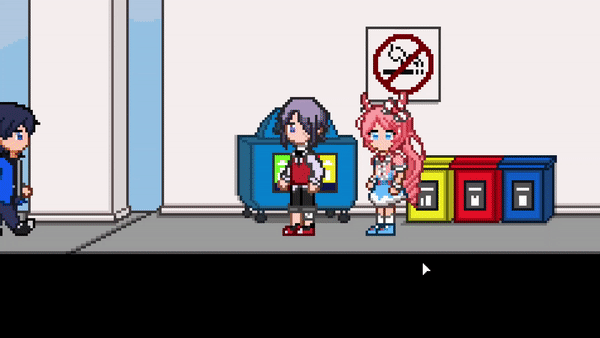
Level Design
Gameplay is closely connected to narrative. The prologue is designed to hint at three mechanics:
Searching for an item on the map
At the start of the prologue, Ray is searching for a game. The shelf closest to the player being the one without the game is an intentional design and a hint to players to try clicking on different areas.

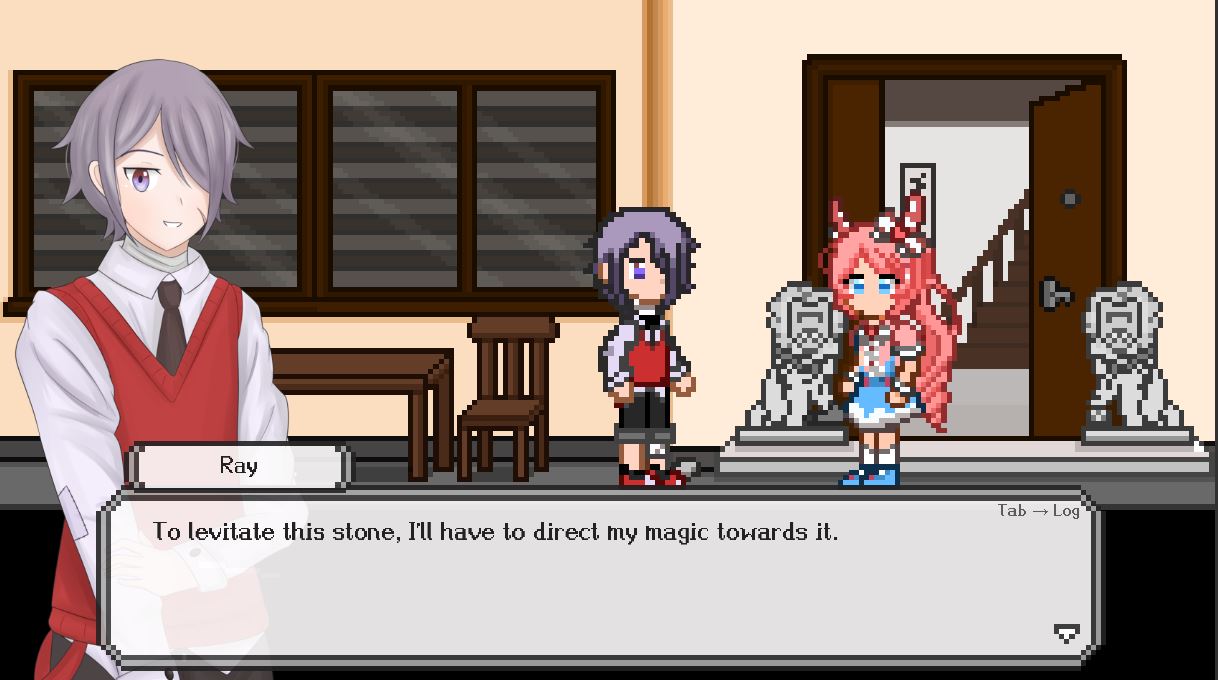
Using magic
Immediately after picking up the game, Ray’s dialogue will prompt the player to look at a “certain ability”.
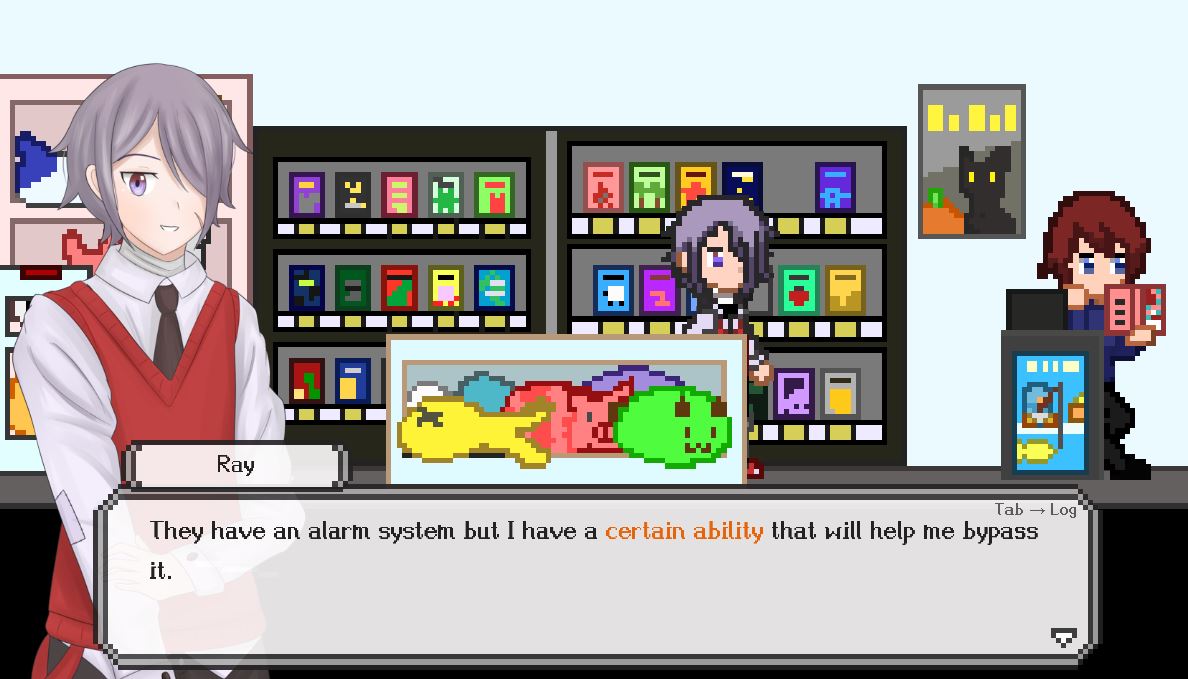
After this conversation is also when the game is added into the player’s inventory. Prompting the players to look at the area below.

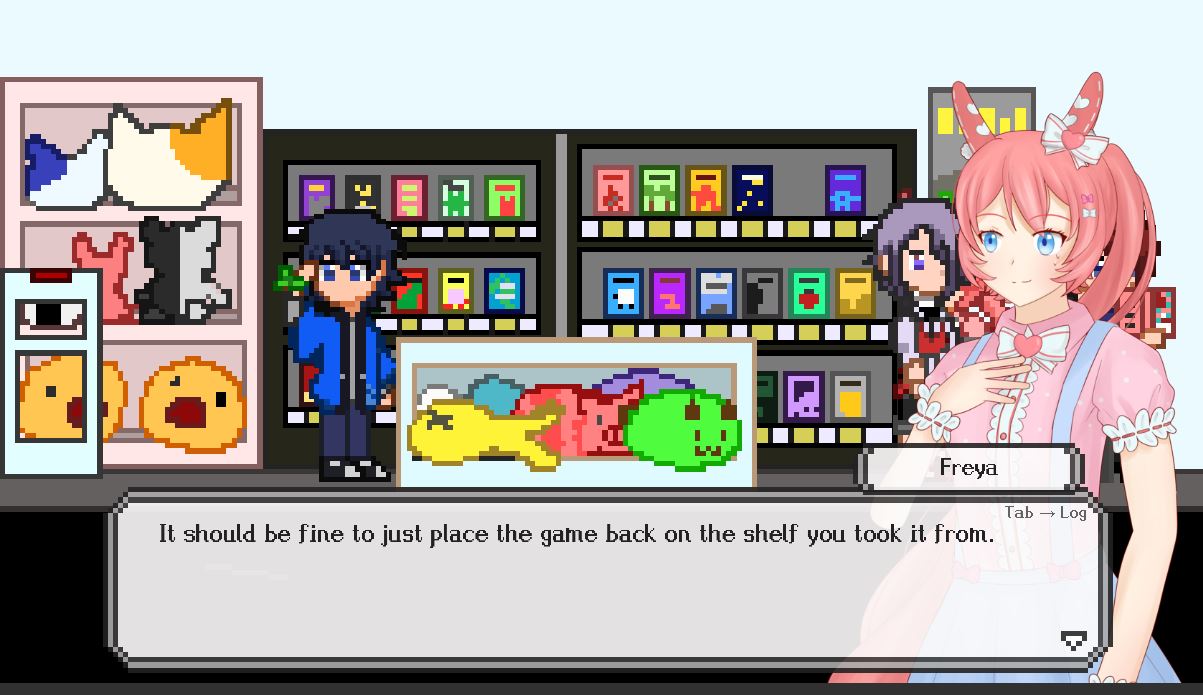
Combining an item from the inventory with an item from the map
Later on, Freya will prompt Ray to return the game back onto the shelf. Hinting that items in the inventory can be used on items on the map.
With the end of the prologue! The player would have successfully learnt these mechanics!
In order to not break the immersion, none of these mechanics are explicitly described and are instead hinted at in a way that makes sense in the character's dialogue.
Other parts of chapter one use this design to introduce new ways to use magic.

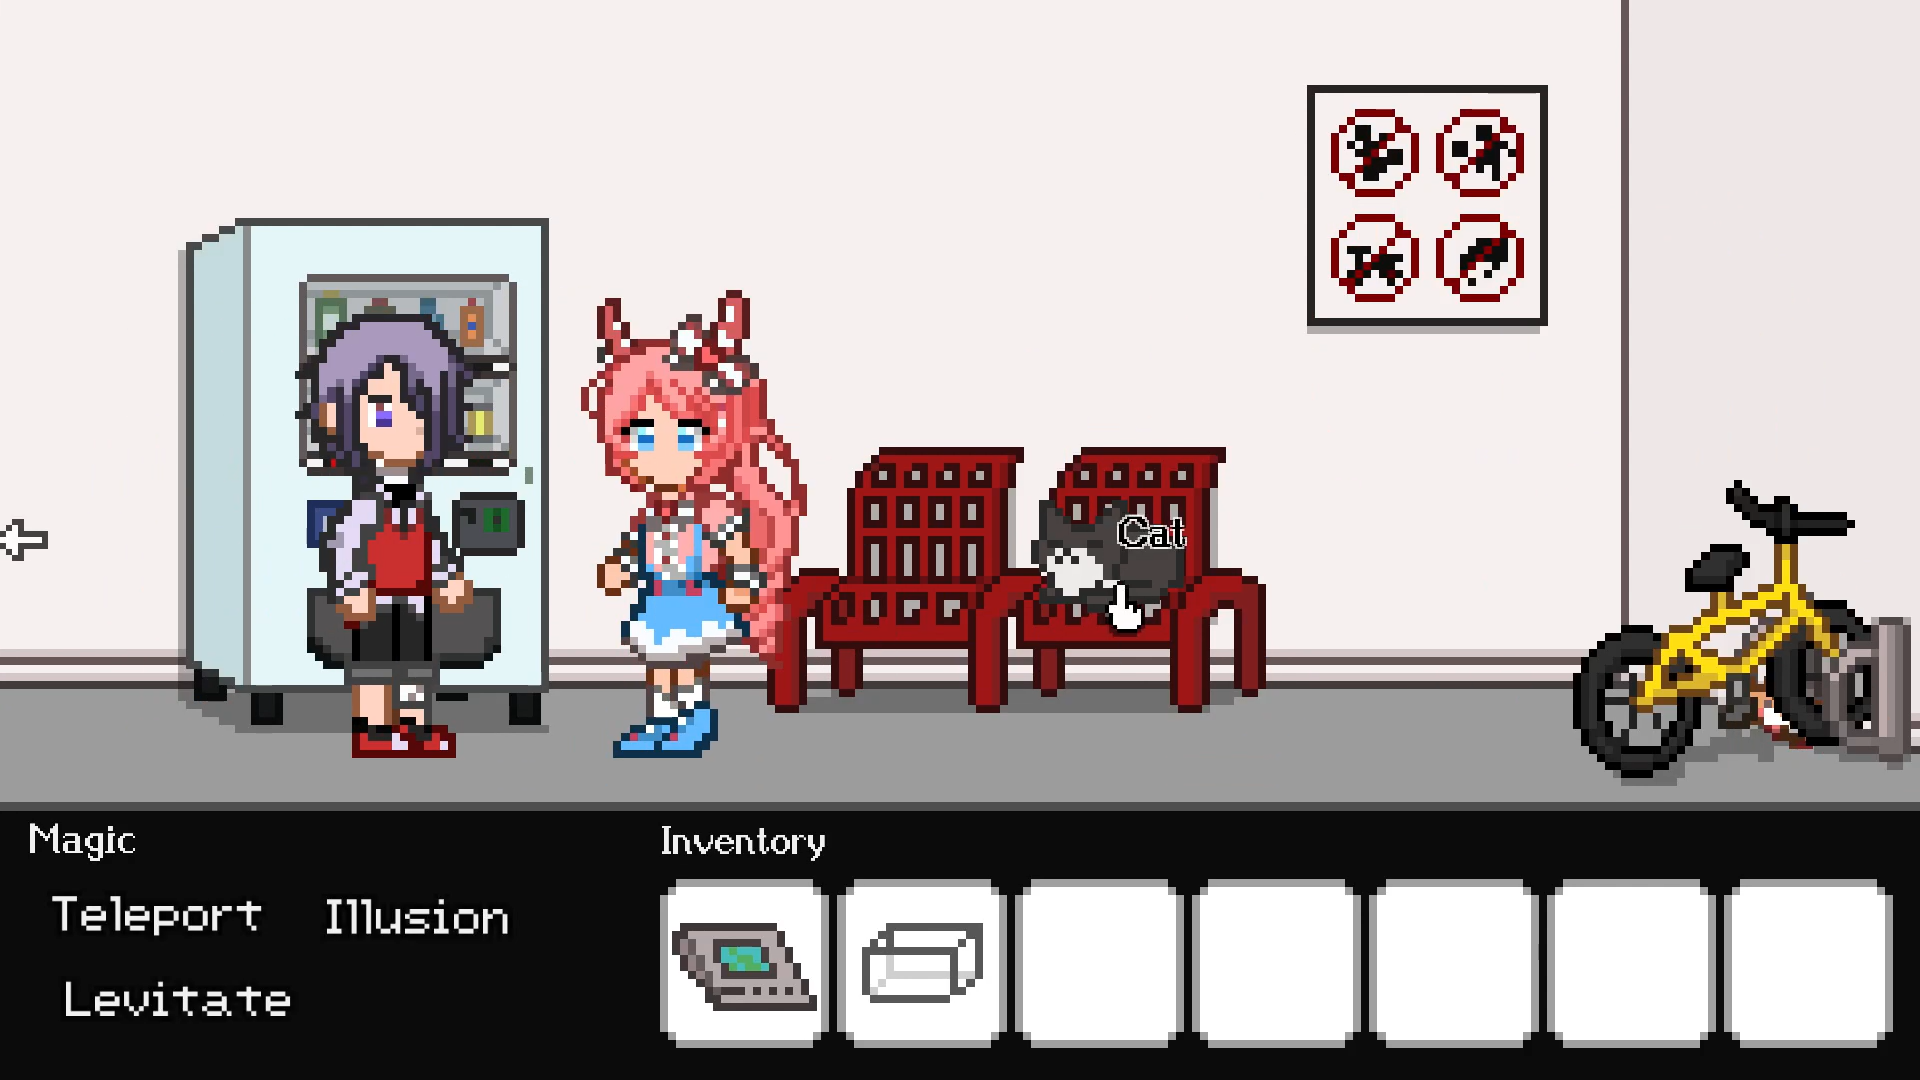
Later on things are left more to the player to figure out on their own. However there are still certain hints.

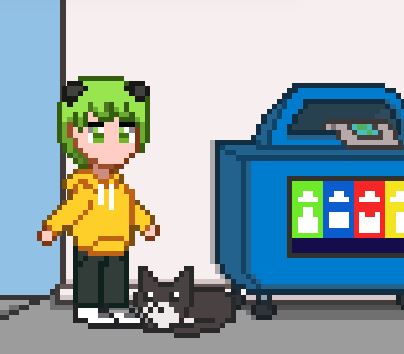
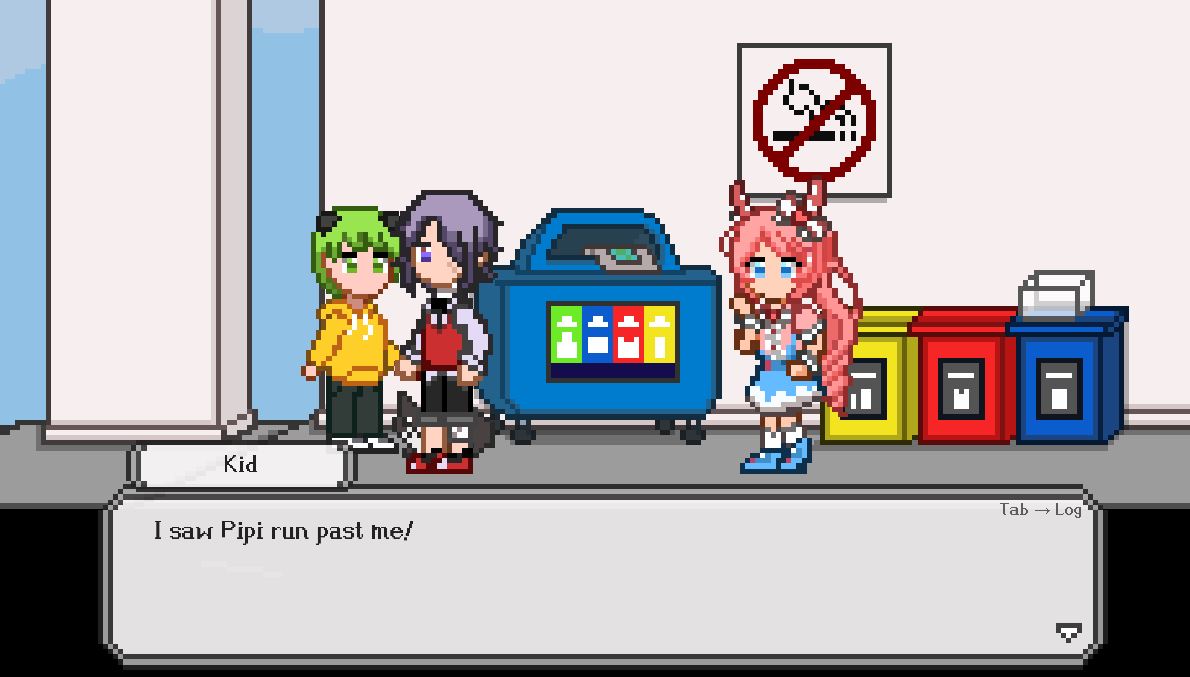
When the hamster goes under the vending machine and you have distracted the cat, the cat runs to the left.
Following the cat will lead you to the kid who has a different dialogue where you will be able to obtain seeds. There are several hints like this around this section.

In order for a puzzle to be fun, the answers cannot be too obvious, yet the solutions must be fair!
Throughout the game, the character Freya will follow the player.
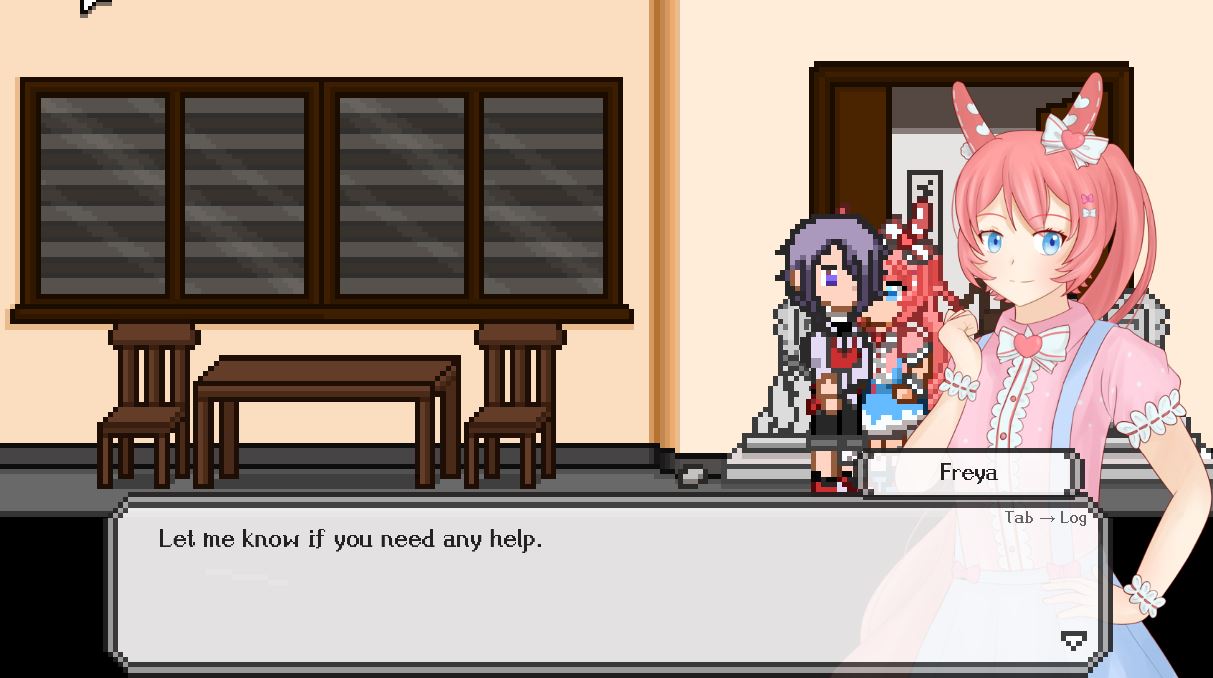
She is the one who teaches Ray how to use different types of magic. If the player gets stuck they are able to click on Freya to receive a hint.


Freya will also comment on any item that the player shows her. These lines of dialogue hint at the solution that these items are part of.

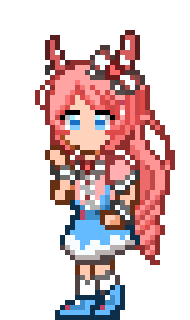
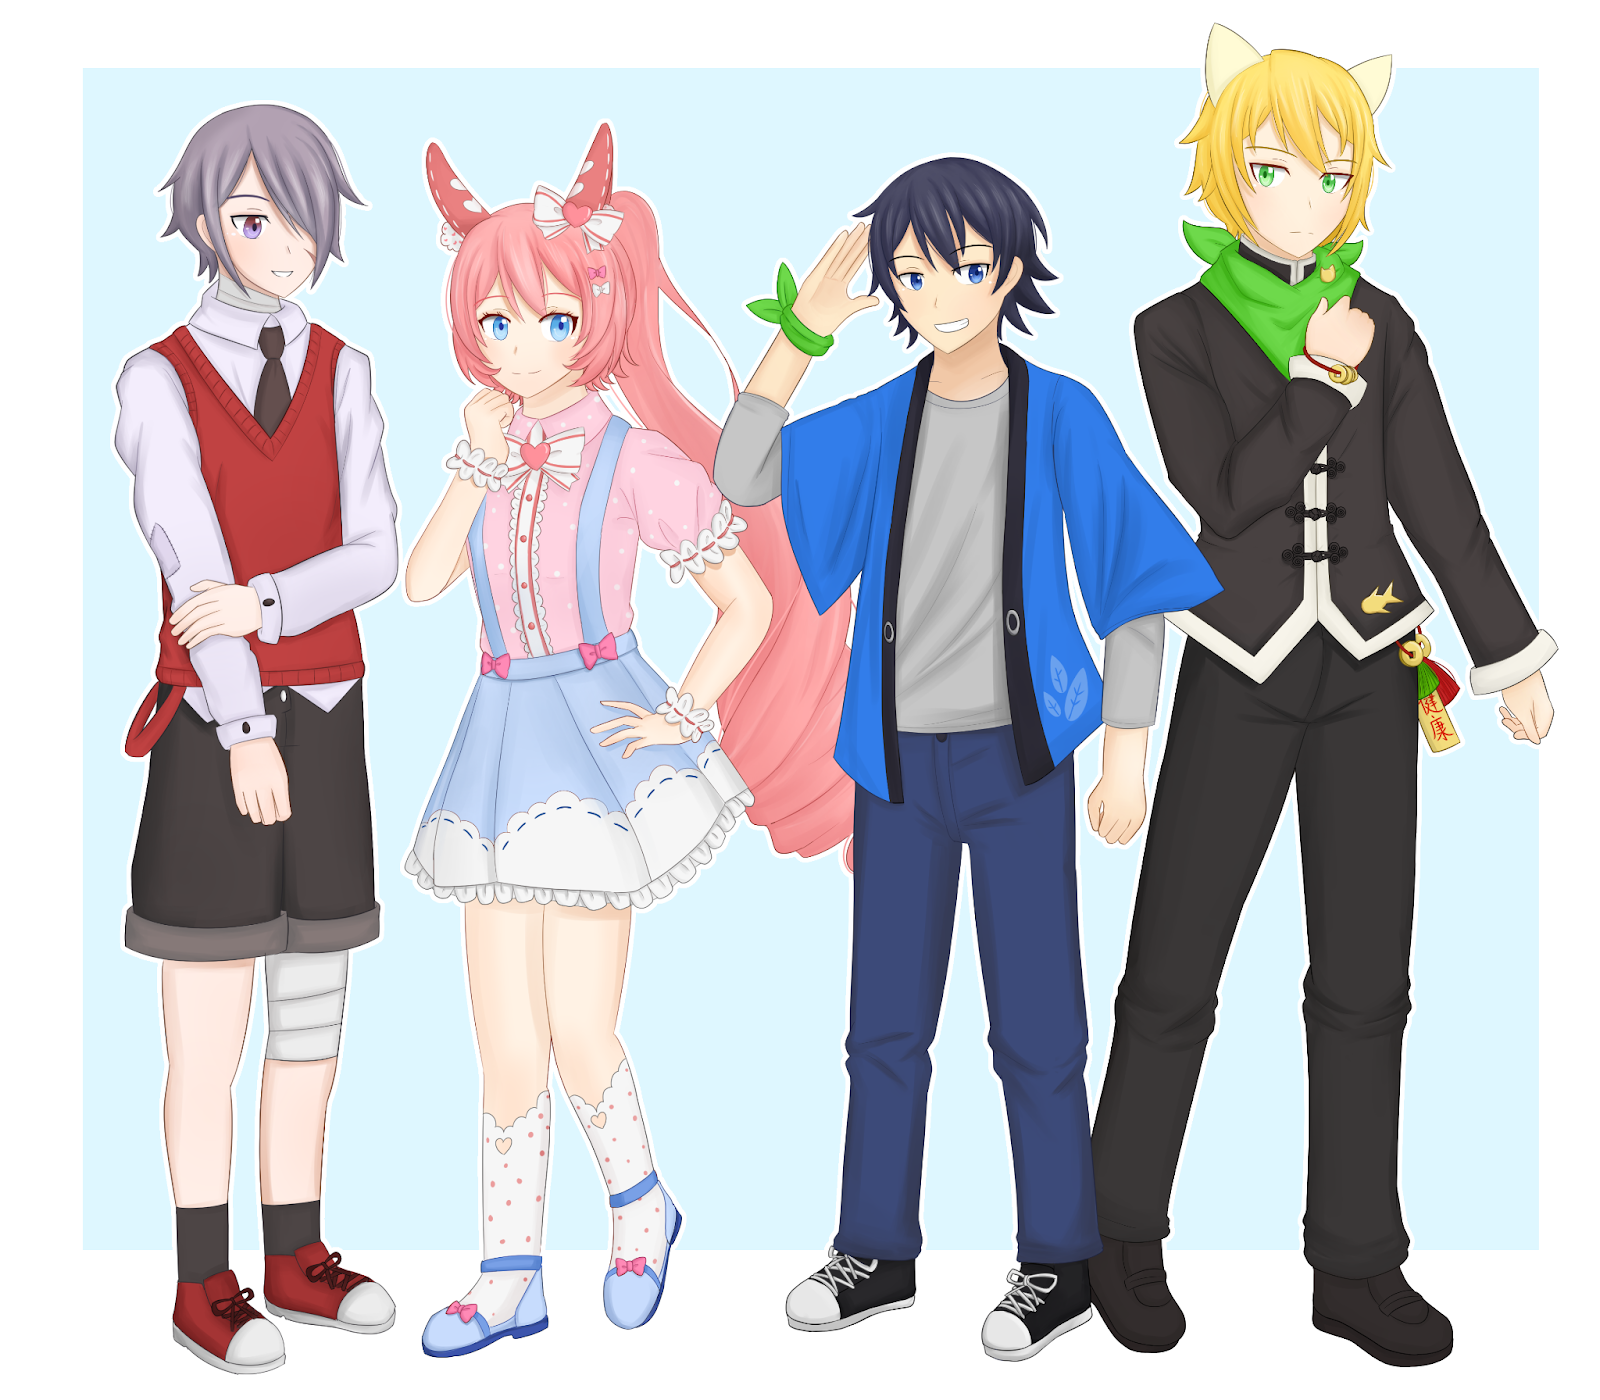
Artwork - Character Pixel Sprites
I split my pixel sprites into three parts, head, body and arms. These sprites are drawn and animated in the Aseprite program.
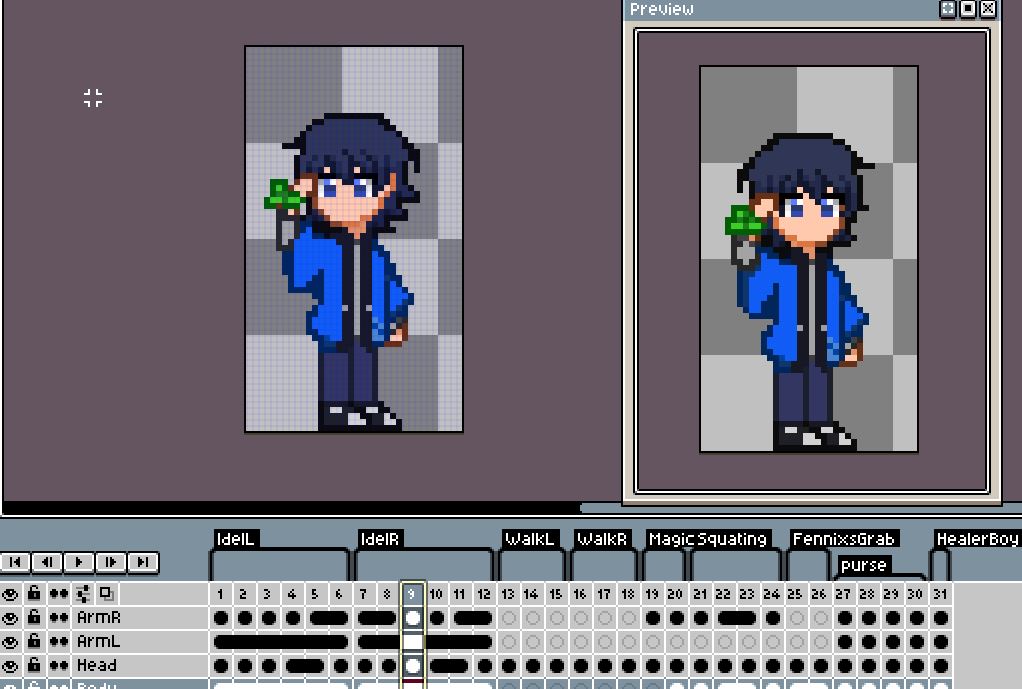
Lines within the sprite are a lighter colour than at the edges. For example in Hunter’s sprite here:
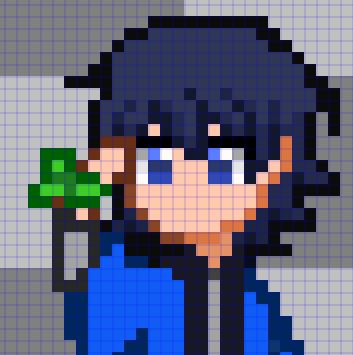
Lines in his hair are lighter than the ones at the edges. Dark and lighter lines can be used to represent lighting or to make certain parts stand out.
Main characters have a walk cycle.
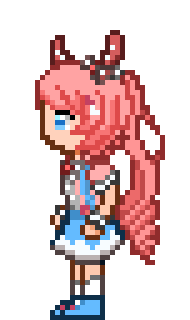

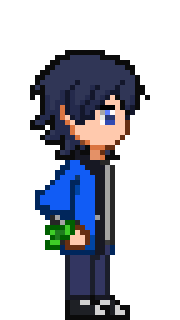
Consistency in a character’s design is important. As such, when a character looks in different directions, the sprite is not mirrored and instead there is a different frame for each side.


For example, Ray’s fringe covers his left eye. This stays consistent throughout different frames.
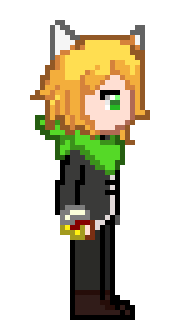
Sprites for background characters also have animation.
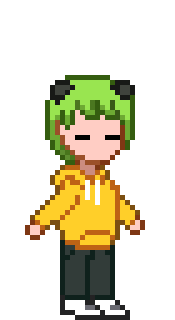

Though the style of my pixel characters are simple. They have different heights to them.
Artwork - Backgrounds
The backgrounds and locations are based in Singapore. With inspiration taken from real life. There are a total of sixteen backgrounds in the game.
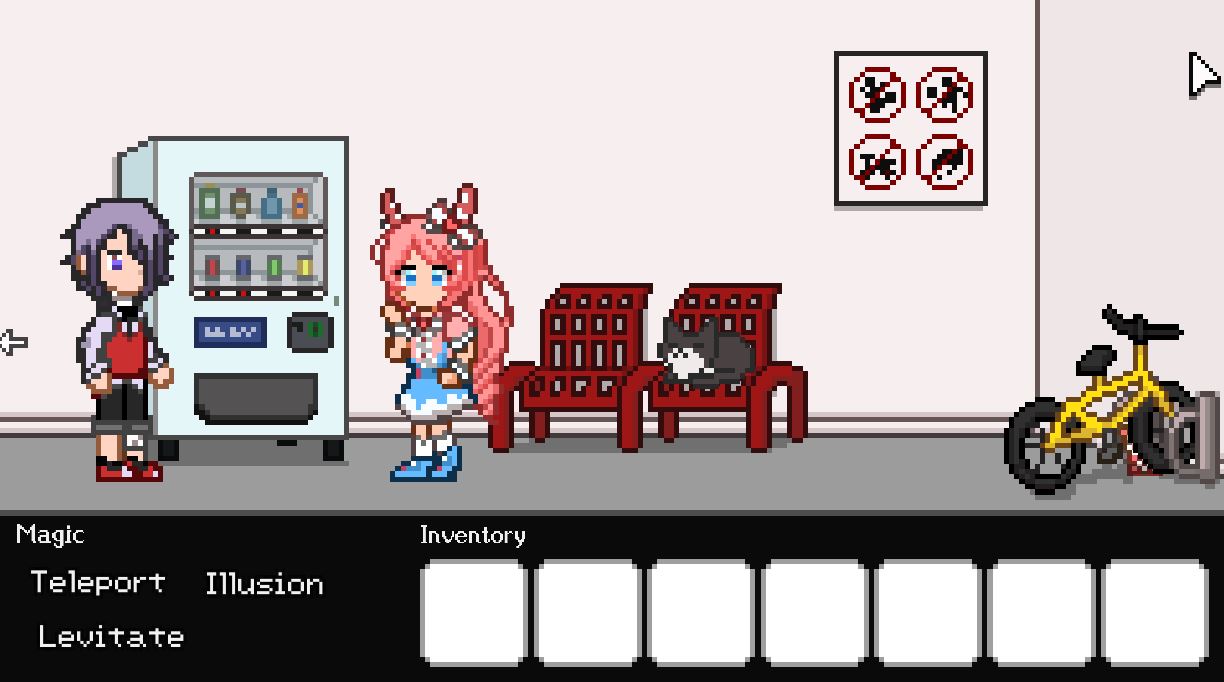

Certain items around homes will relate to the character that lives there.

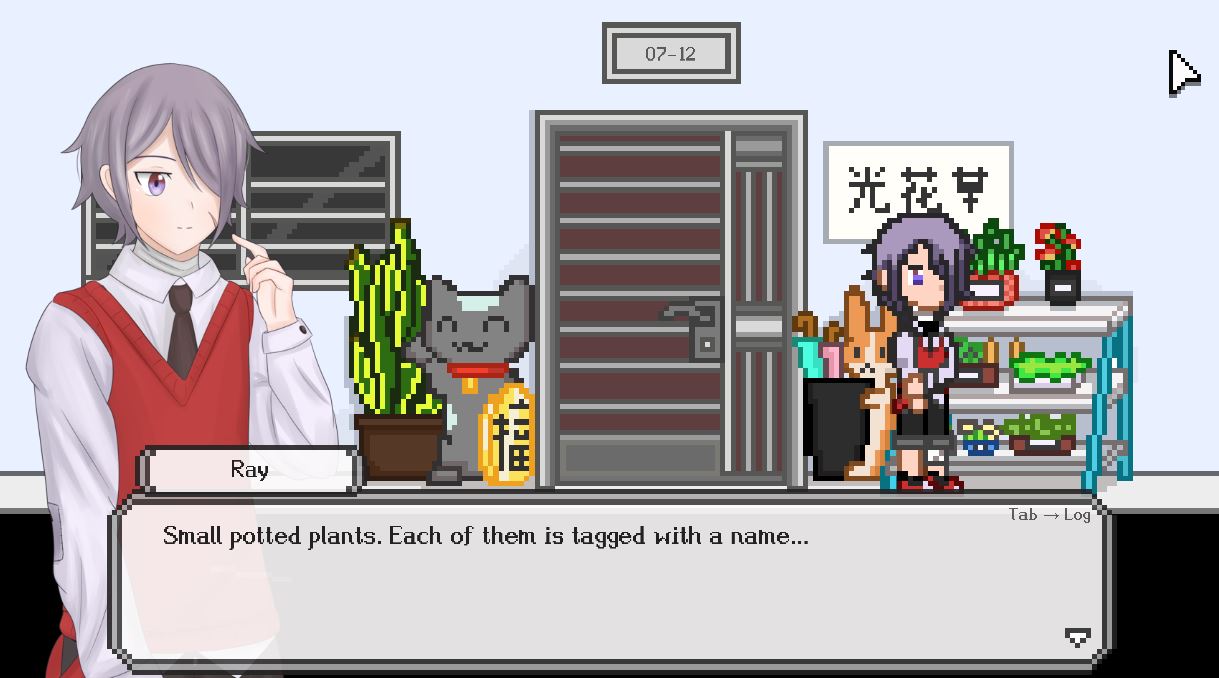

Small details like these help with the characterization. As well as make the places seem more alive.
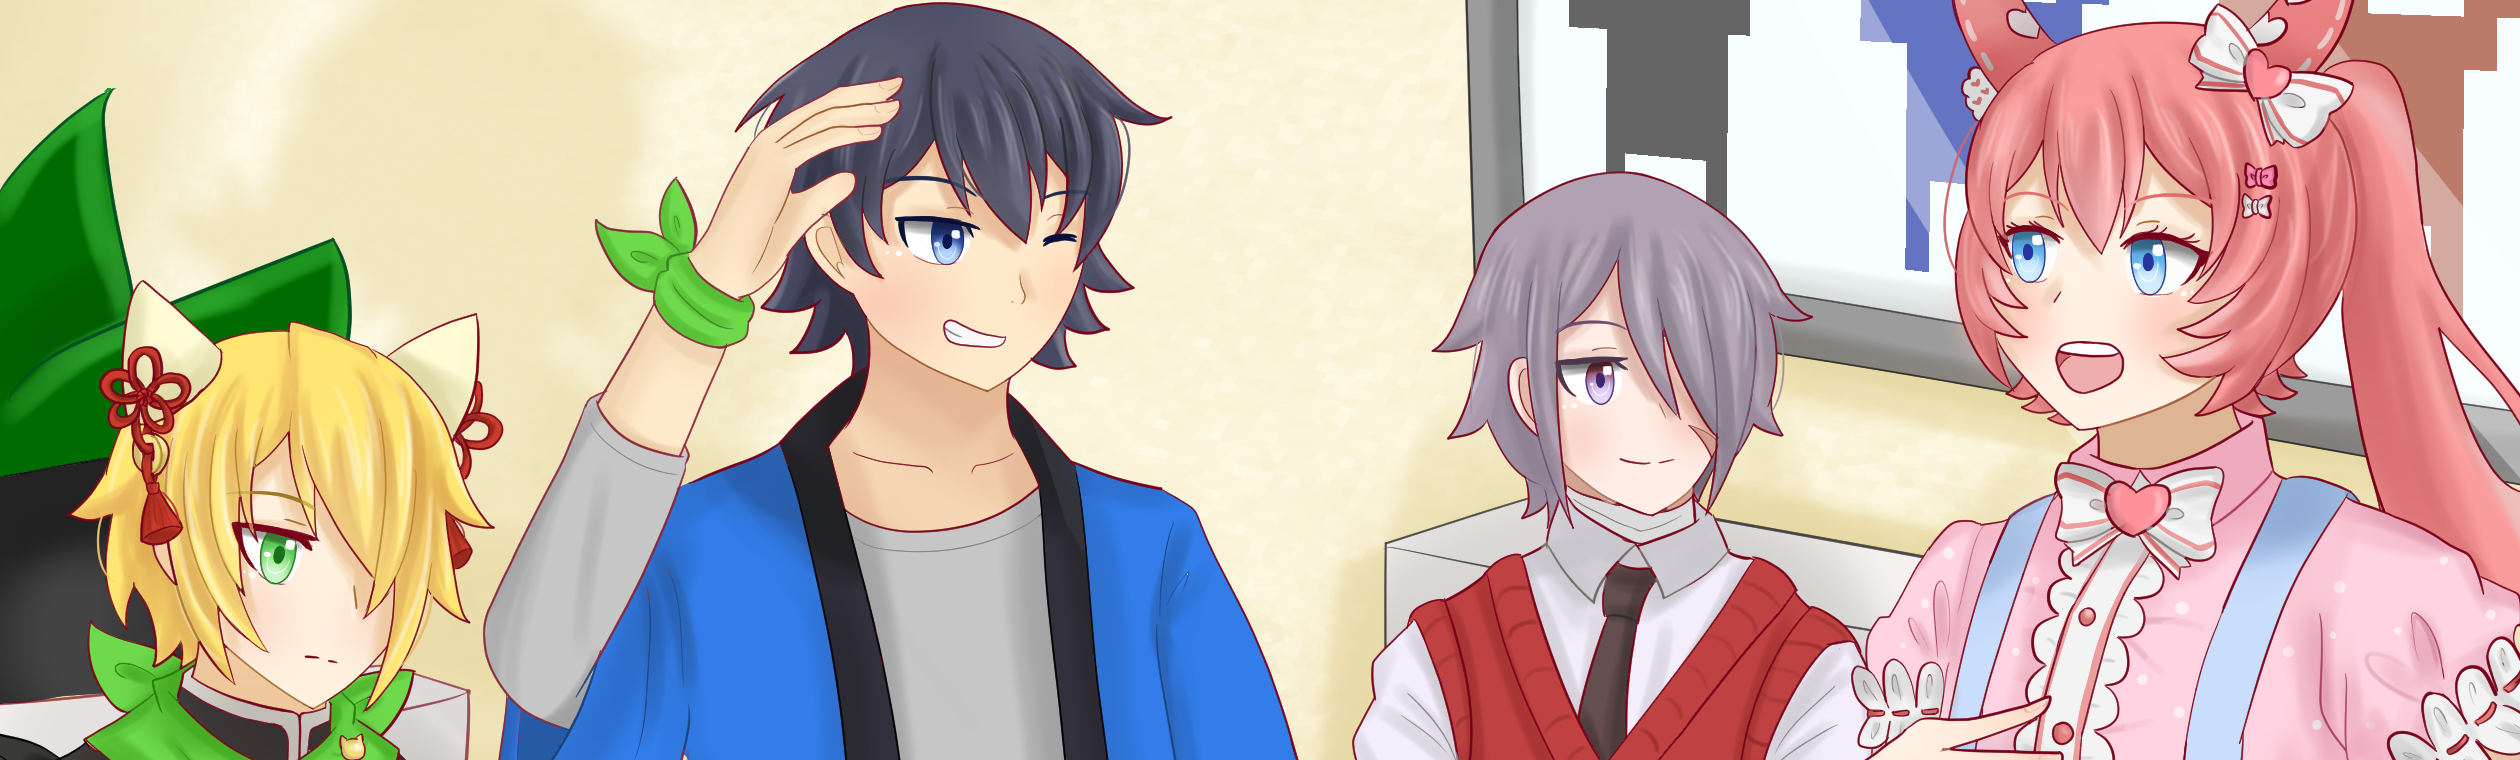
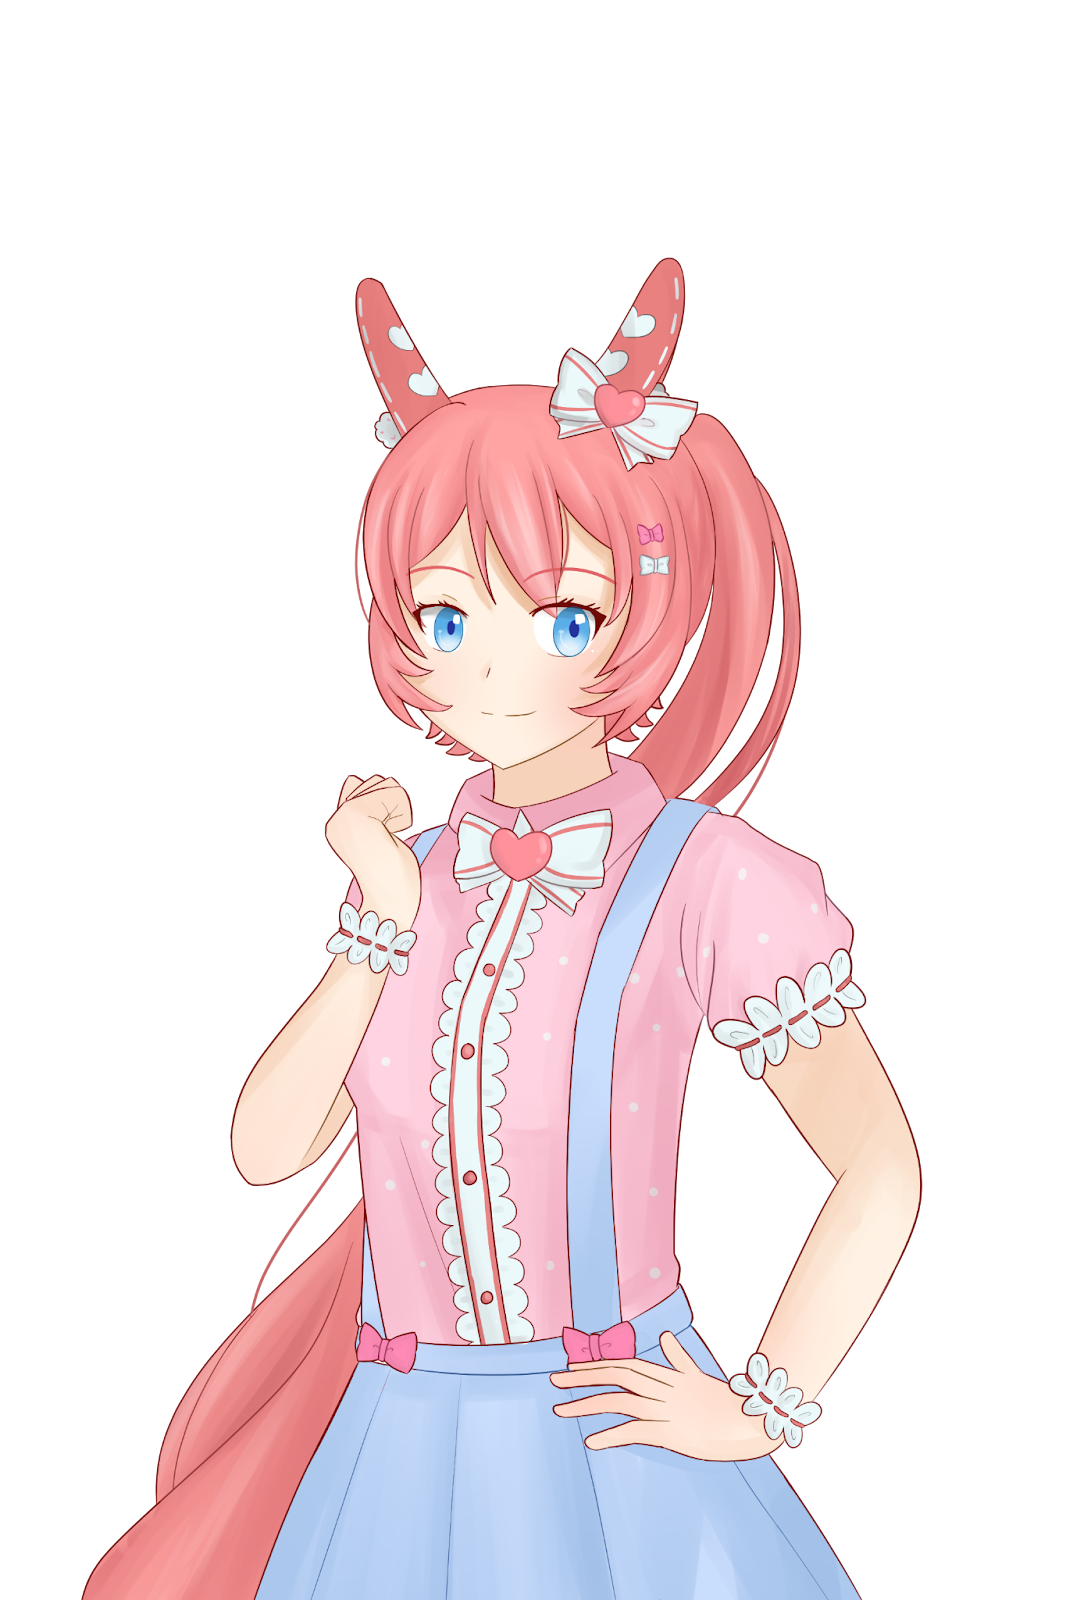
Artwork - Portraits
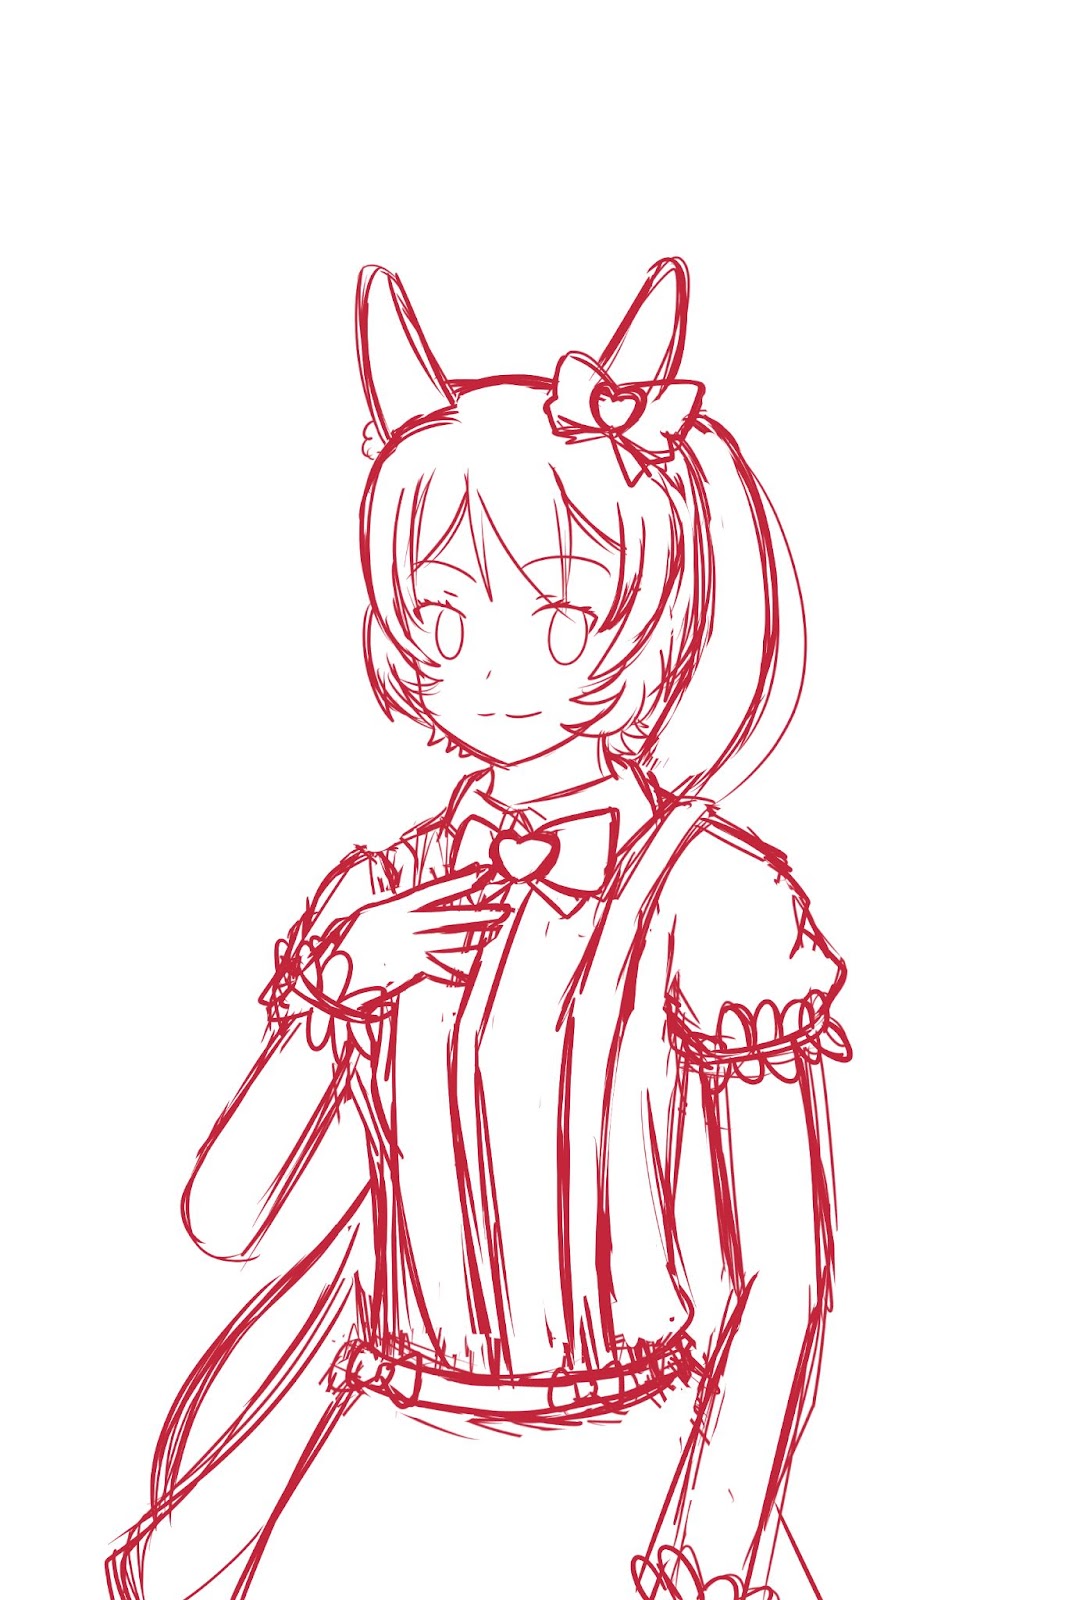
Portraits are not drawn in pixel style so that they stand out from the background. These portraits are drawn by me using the program Clip Studio Paint.
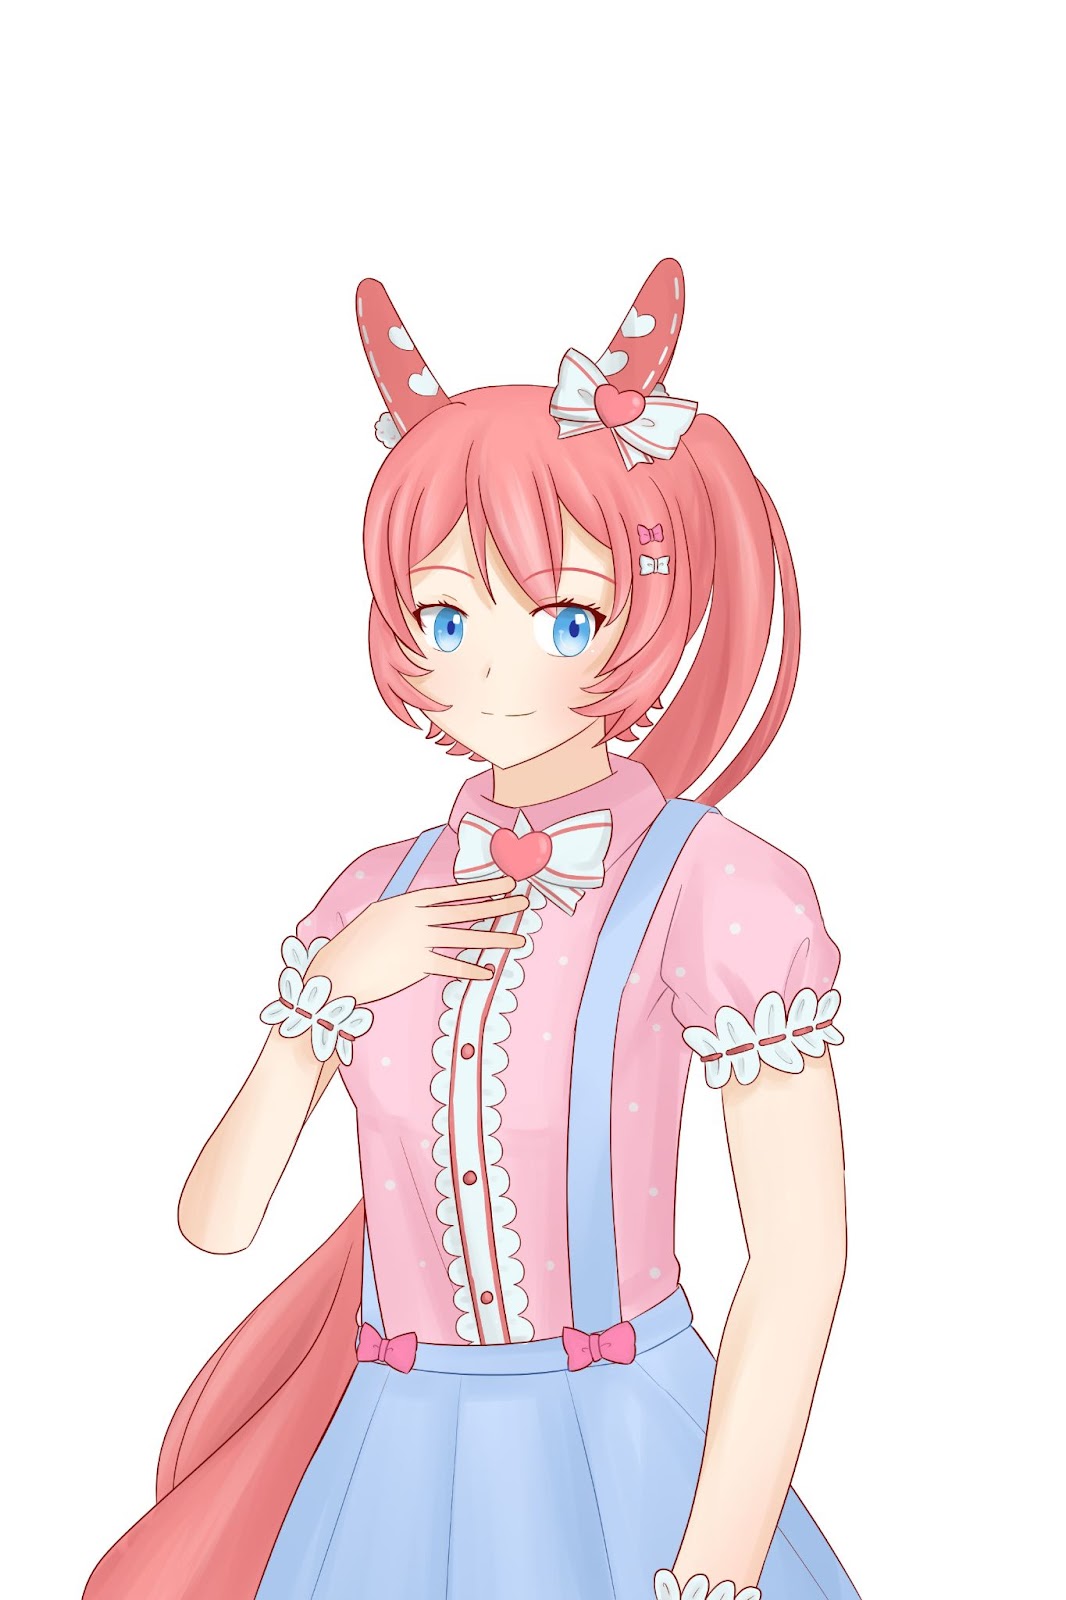
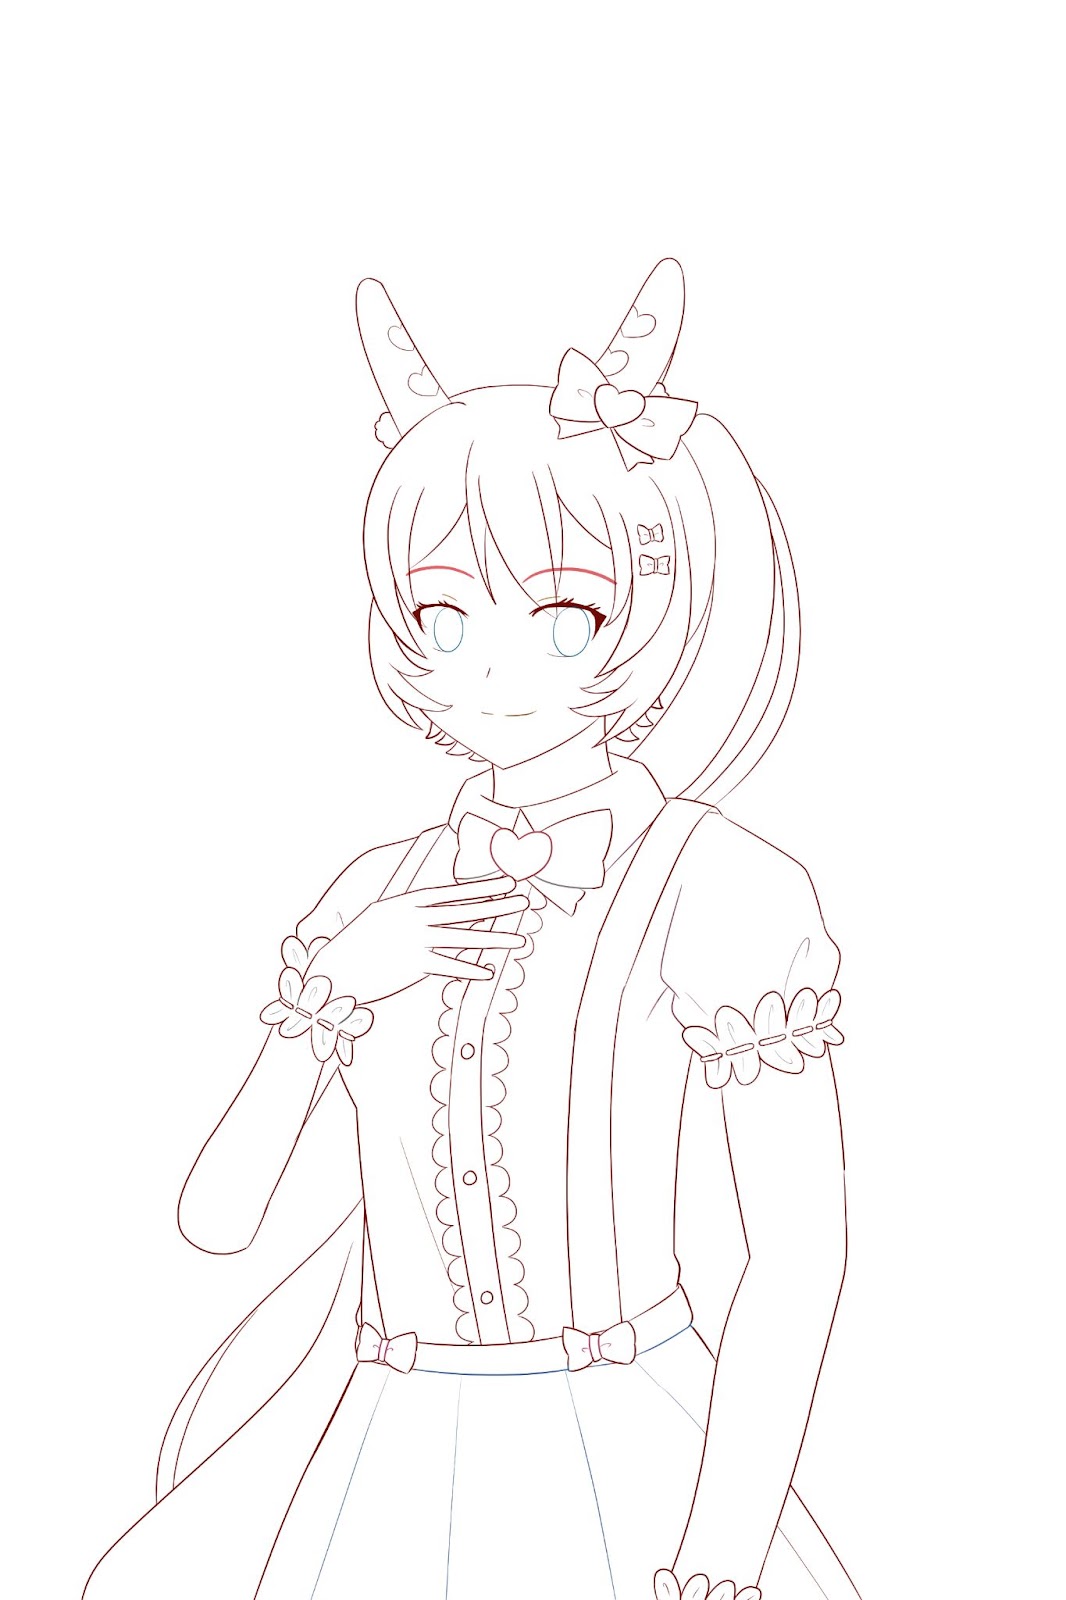
Like with my pixel sprites, my portrait artwork uses coloured lines and lines at the edge are darker. Something I like about drawing portraits is adding this square shaped reflection. Which is a callback to the square pixels.

Portraits are made with two different poses, of which, one reflects the idle pose of the pixel sprite.

Expressions help bring characters to life.

By using different expressions, the exact same line of dialogue could express different meanings. These expressions can be changed to reflect the situation.
Closing
Throughout development I have become more familiar with coding.
My artwork has also improved over time.
Back when I first had an idea for a game, I couldn't draw anything I would call presentable. I feel much more confident in my skills after developing the first part of my game, and hope to learn and improve more in future.
Thank you for reading!
Leave a comment
Log in with itch.io to leave a comment.